I've audited over 500 product catalogs in the last four years. Supplements, fashion, home goods, electronics, food and beverage: every vertical, every price point, every marketplace. And the same mistakes keep showing up. Not exotic, edge-case problems. Basic, fixable mistakes that are silently draining revenue from brands that should know better.
The frustrating part? Most of these aren't hard to fix. They just require someone to point them out. So that's what this is. Ten product photography mistakes I see constantly, why each one is costing you conversions, and exactly how to fix it.
If you're selling on Shopify, Amazon, or any other e-commerce platform, at least three of these apply to you right now. Probably more.
1. Your "White" Background Isn't Actually White
This is mistake number one for a reason. It's the most common problem I see in product photography, and it's the one most likely to get your listings rejected outright.
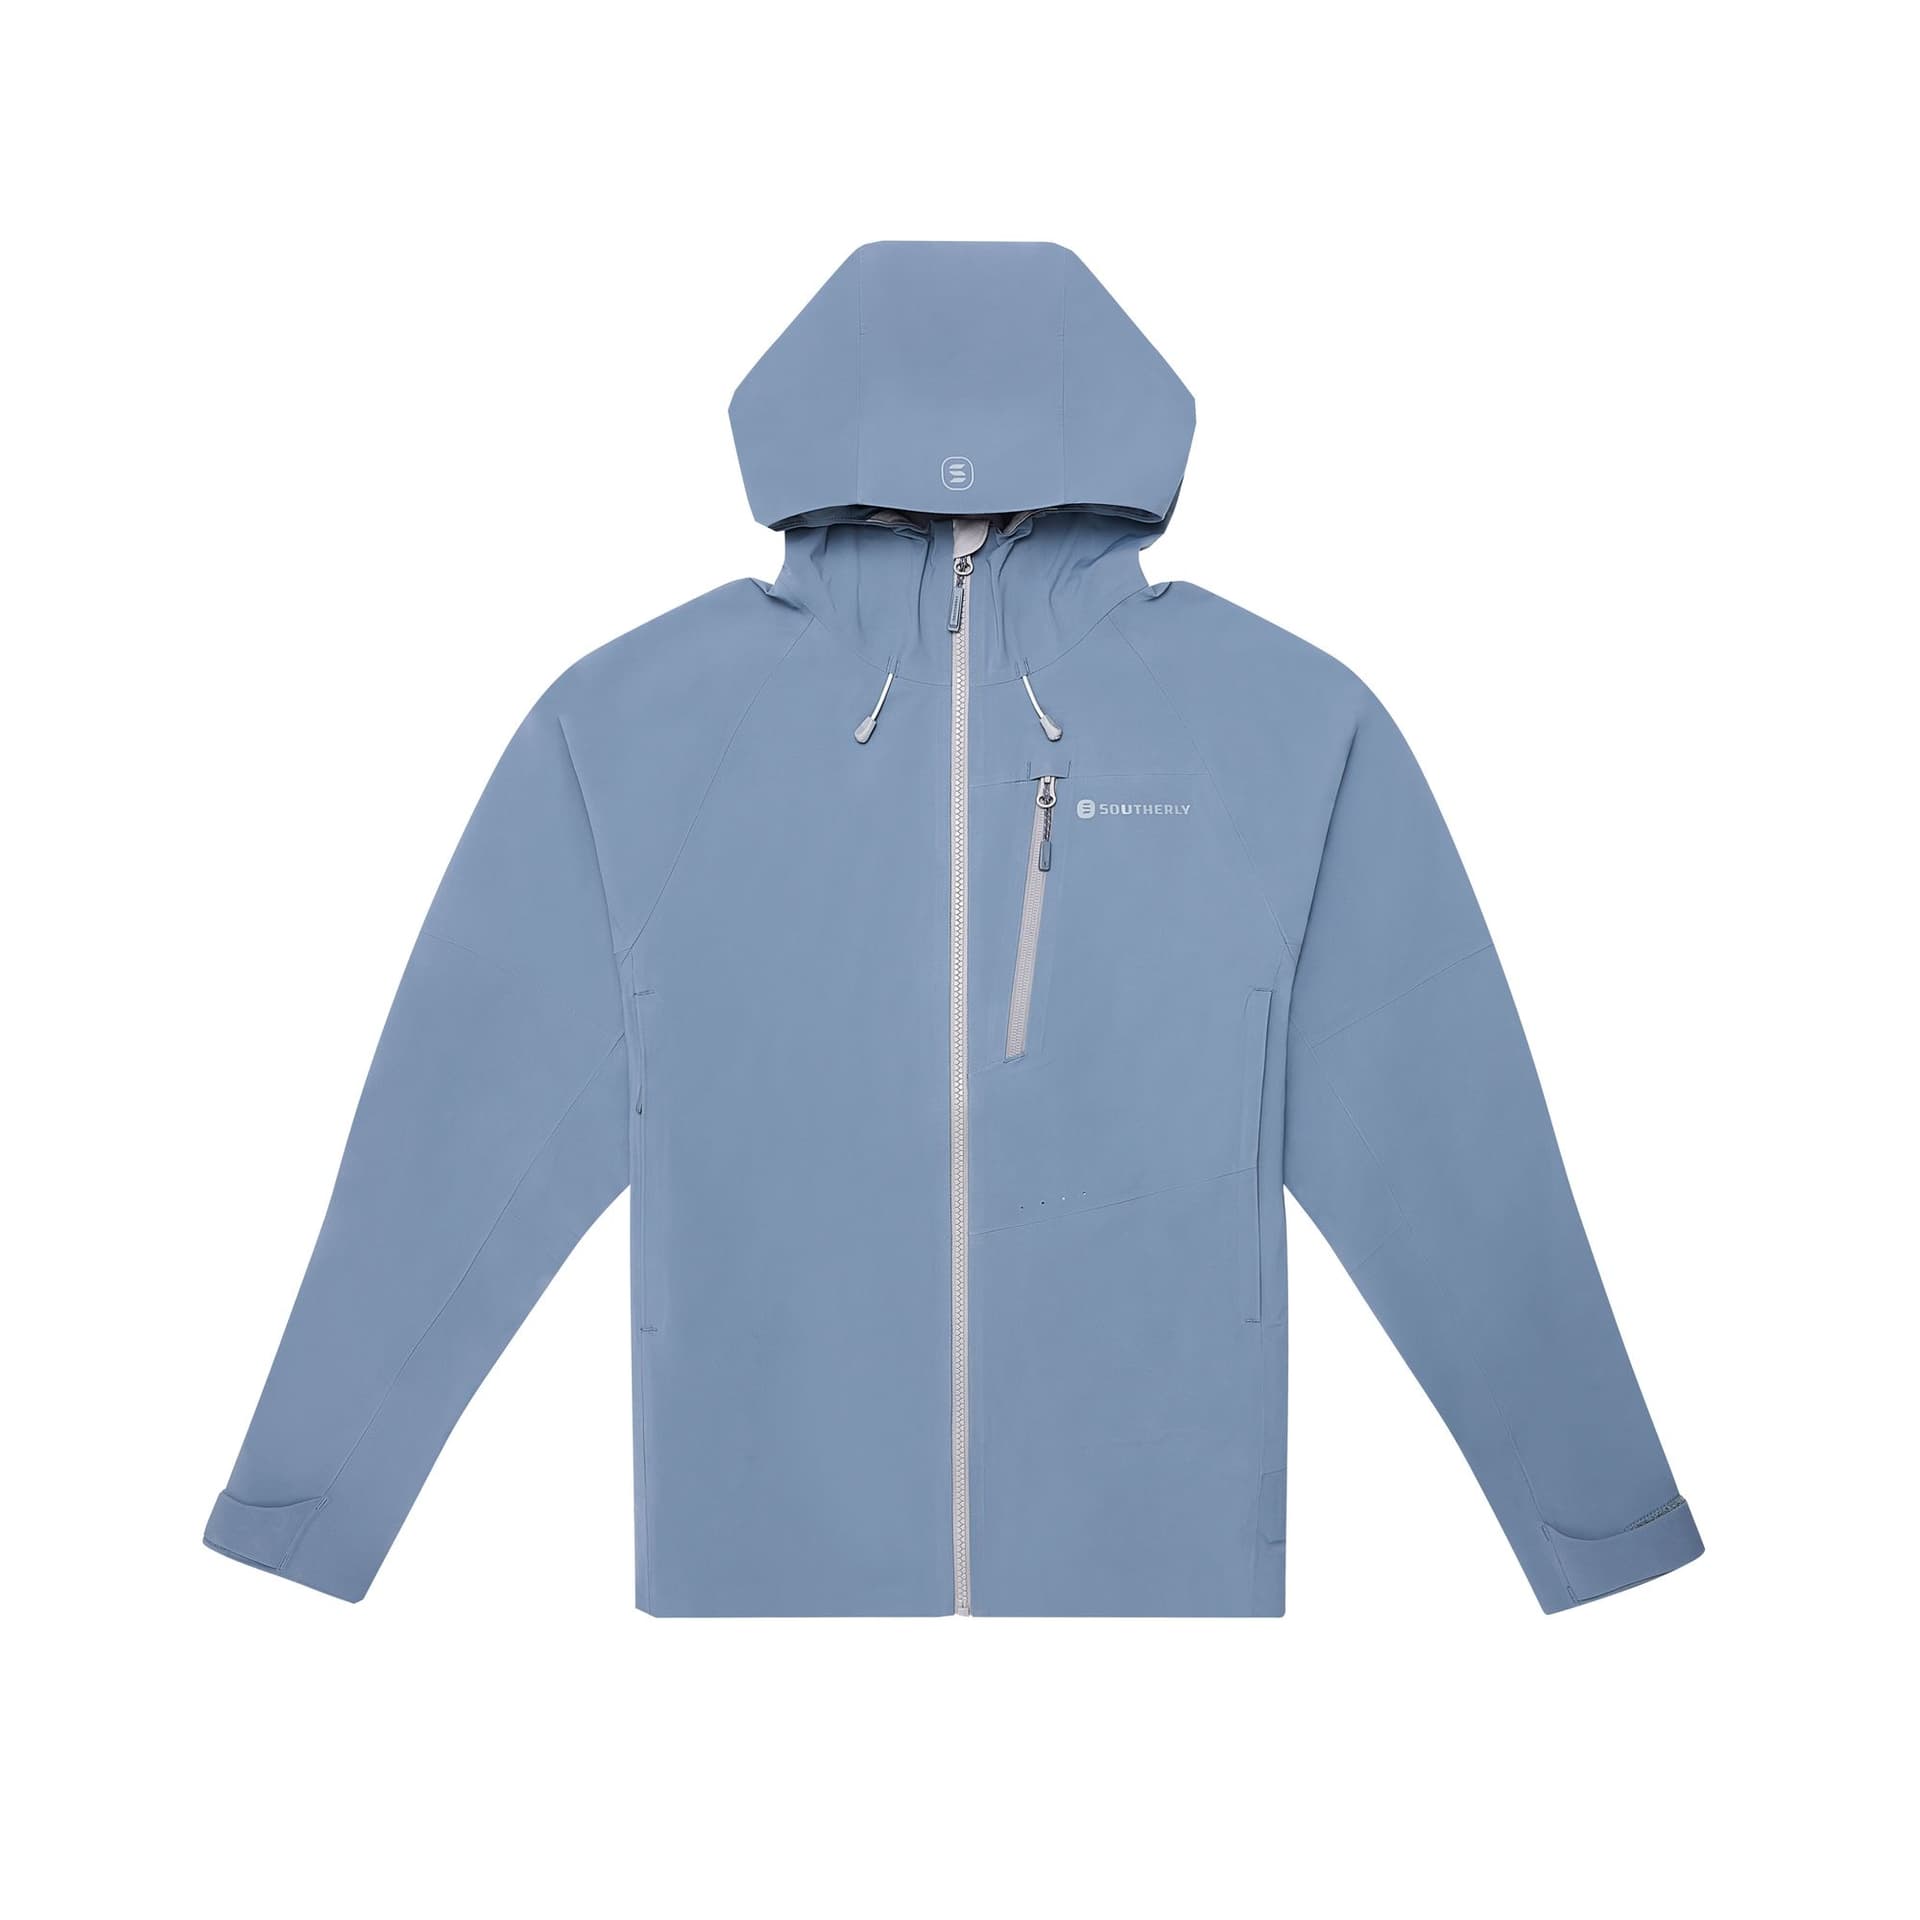
The problem: You shot on a white background. It looks white on your monitor. But when you check the actual pixel values, you're sitting at #e8e8e8 or #f2f0ed. That's not white. That's gray. And when that image lands on a product page with a true white (#ffffff) background: which is what every Shopify theme and Amazon listing page uses: your product looks like it's floating on a dirty napkin. There's a visible halo or border where your not-quite-white meets the page's actual white. It screams amateur.
Why it kills conversions: Amazon requires pure white backgrounds (RGB 255, 255, 255) for main listing images. Submit anything less and your listing gets suppressed: not rejected with a helpful error message, just quietly buried. Shopify themes assume white. Every major marketplace has the same expectation. A gray-cast background doesn't just look cheap. It actively prevents your products from being seen.
Beyond marketplace compliance, off-white backgrounds create a subconscious trust issue. Shoppers can't articulate what's wrong, but the product looks "off." It feels like a knockoff listing, even if the product is legitimate. That millisecond judgment costs you the click.
The fix: Overexpose your background by 1-2 stops relative to your product exposure. Use a separate light on the background (not just the same light hitting everything). In post-production, use the levels tool to push the background to pure white: pull that right-side input slider left until your eyedropper reads 255, 255, 255 on the background. Better yet, use dedicated background removal software and composite onto pure white.
The gold standard: shoot on seamless white paper with proper backlighting, expose the background 1.5 stops over, and verify in post. If you're using a Shopify product photography workflow, build a background check into your QC step. Every image, every time.
2. Inconsistent Image Sizes and Aspect Ratios Across Your Catalog
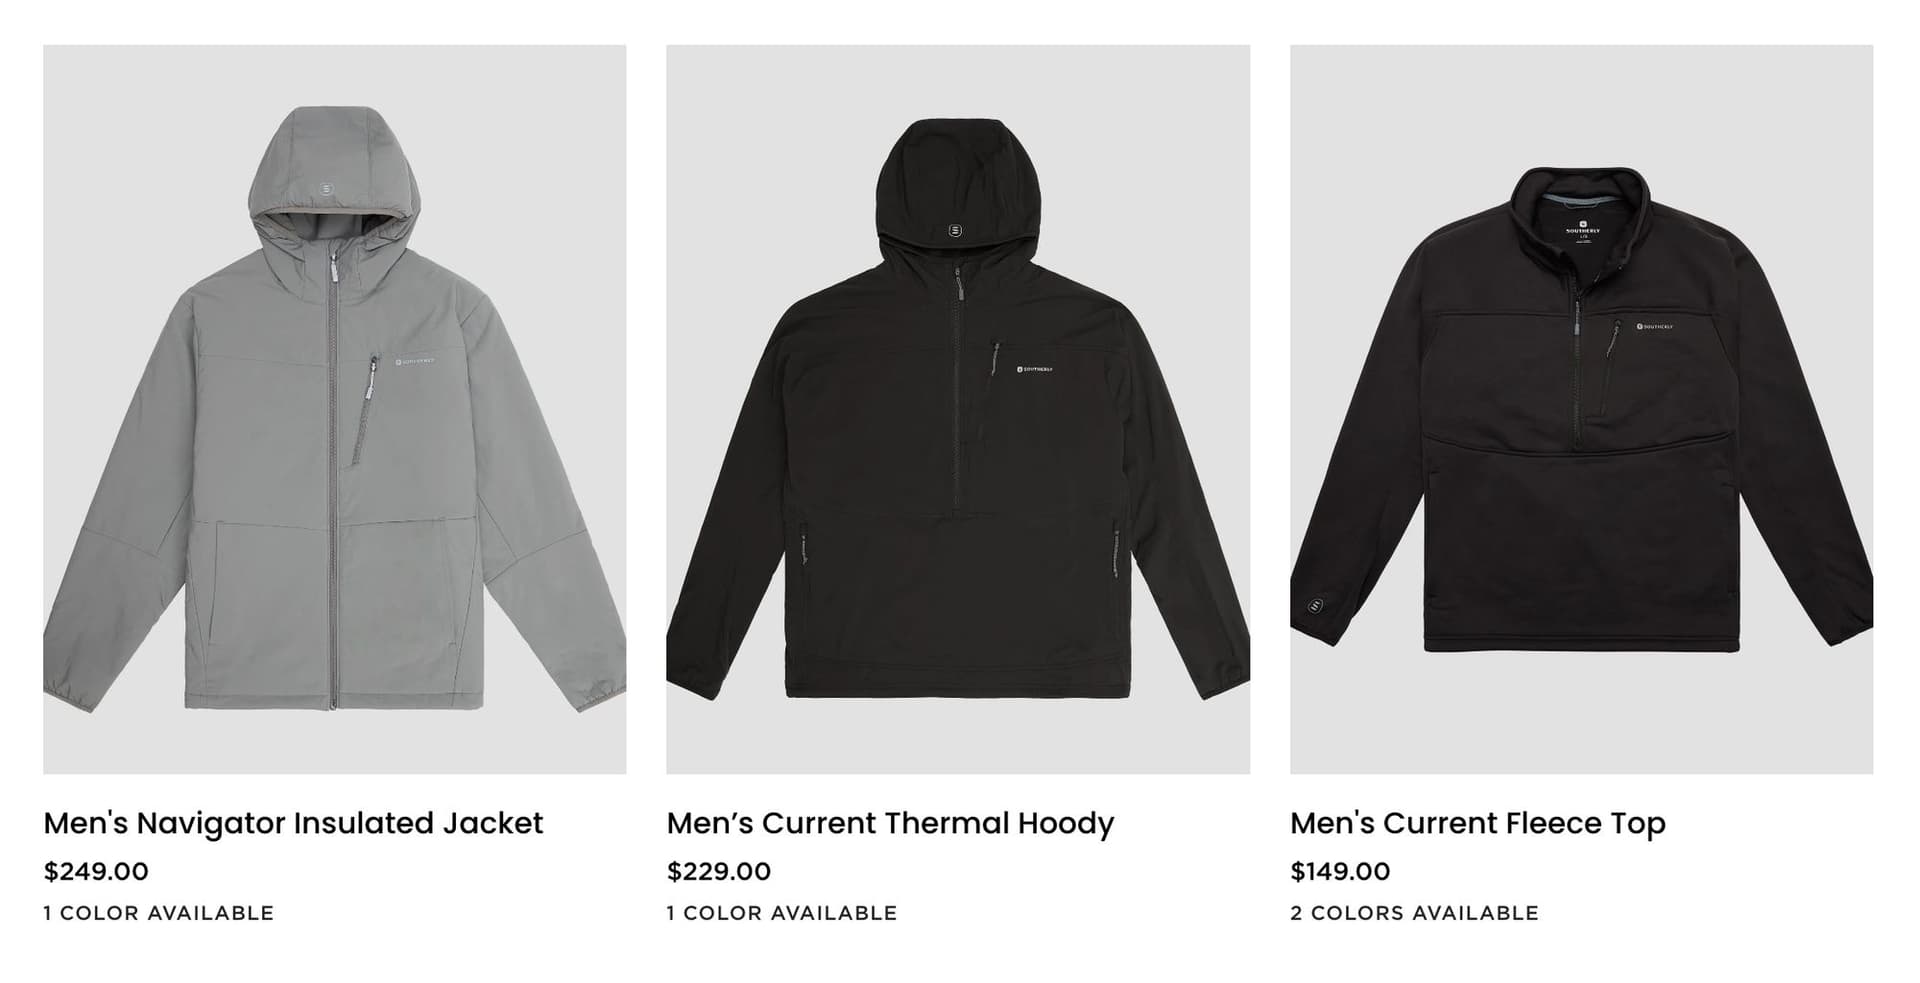
Open your collection page. Really look at it. Are all the product thumbnails the same size? Same aspect ratio? Same amount of whitespace around the product? If not, you have a problem.
The problem: One product was shot as a square. Another is 4:3. A third is a weird landscape crop someone did in a hurry. The product fills 80% of the frame in one image and 40% in the next. When these land on a collection or category page, the grid looks broken. Products jump around visually. Some thumbnails have the product large and centered, others have it tiny with acres of dead space.
This happens most often when brands shoot products over time: new SKUs get added by different people, with different cameras, using different crop settings. Nobody owns the image spec, so it drifts.
Why it kills conversions: A messy collection page erodes trust instantly. It looks like a flea market, not a curated brand. Shoppers make quality judgments about your products based on the visual consistency of your store. If your image grid is chaotic, they assume your products are too. Inconsistent sizing also creates practical UX problems: products that appear smaller in the grid get fewer clicks, regardless of how good they are.
The fix: Define an image spec and enforce it across every SKU: - Pick one aspect ratio (1:1 square is the safest bet for cross-platform compatibility) - Set a minimum and maximum product-to-frame ratio (we recommend the product filling 80-90% of the frame) - Define consistent padding/whitespace rules - Use a canvas template in Photoshop or Capture One so every image gets the same treatment - When adding new products, match the existing spec exactly: don't "wing it"
Retroactively fixing this means re-cropping your entire catalog to the same spec. It's tedious. It's also one of the highest-ROI things you can do for your store's appearance.
3. Not Enough Images Per Product
Two images. A front shot and... another front shot from a slightly different angle. That's your entire product listing.
The problem: Shoppers can't touch your product. They can't pick it up, turn it around, feel the texture, check the weight, or read the label. Your images are the only substitute for that physical experience, and two images aren't enough to substitute for anything. Research from Salsify consistently shows that shoppers want to see at least 3-5 images before purchasing, and brands showing 5-7 images per SKU see measurably lower cart abandonment and return rates.
Amazon gives you 7 image slots for a reason. Shopify product pages are designed to showcase multiple images. If you're only using 1-2 of those slots, you're leaving the most valuable real estate in e-commerce empty.
Why it kills conversions: Every missing image is an unanswered question. What does the back look like? How big is it? What's the texture? Is there a logo? What are the ingredients? Shoppers who have unanswered questions don't buy. They bounce, or worse, they buy and then return because the product wasn't what they expected.
The fix: Shoot a minimum of 5 images per product. Here's a starter shot list: - Front/hero shot (white background, product fills the frame) - Back or alternate angle - Detail/texture close-up - Scale or lifestyle shot (product in use or with a size reference) - Packaging or unboxing shot
For complex products, go to 7-8 images. For fashion, you need even more: front, back, side, detail, on-model, flat-lay, fabric close-up. Build a standardized shot list and follow it for every SKU. Consistency in coverage is just as important as consistency in style.
4. No Lifestyle or Context Shot
Every image in your listing is product-on-white. Clean, clinical, and completely devoid of emotional connection.
The problem: White background images are necessary. They show the product clearly, they satisfy marketplace requirements, and they let shoppers evaluate the product objectively. But they don't sell. They don't help anyone imagine owning the product, using it, or how it fits into their life.
White background images answer "what does this look like?" Lifestyle images answer "what would it be like to own this?" The second question is what drives purchases. A candle on white is a candle. A candle on a bedside table next to a book and a warm throw blanket is an experience. A backpack on white is a product. A backpack on a trail with mountains in the background is an aspiration.
Why it kills conversions: Products with only white background images consistently underperform products that mix in lifestyle imagery. The lifestyle image creates an emotional hook that the white background image can't provide. It helps the shopper visualize ownership. It provides scale reference naturally. And it gives you content that works beyond the product page: lifestyle images drive social media engagement, ad click-through rates, and email conversion.
The fix: Include at least one lifestyle or context image for every product. This doesn't require an expensive production shoot every time. Options: - Simple flat-lay with 2-3 complementary props on a textured surface - Product-in-use shot (hand holding it, person wearing it, product in its natural environment) - AI-generated lifestyle scenes for brands that need to scale quickly without booking a new shoot for every SKU - Environmental context (kitchen counter for kitchen products, bathroom shelf for skincare, desk setup for tech)
The key is matching the context to your target customer's aspirational lifestyle. Don't put a luxury skincare product on a folding table. Don't put a rugged outdoor product in a sterile studio setting.
5. Poor Lighting That Flattens or Destroys Your Product
This is the one that separates amateur product photos from professional ones, and most brands don't even realize they're getting it wrong.
The problem manifests in three ways:
Harsh shadows. Direct, unmodified light (like a bare flash or direct sunlight) creates hard-edged shadows that cut across your product. These shadows obscure details, create distracting dark patches, and make the product look cheap. Jewelry with a harsh shadow underneath looks like costume jewelry. Skincare with harsh shadows looks clinical, not luxurious.
Blown highlights. Too much light, or light aimed directly at reflective surfaces, creates white-hot spots where all detail is lost. That blown-out area on your product's packaging? The one where the label is completely unreadable? That's lost information the shopper needs. The shiny spot on your product's surface that's just a white blob? That's destroying the perception of material quality.
Flat, lifeless diffusion. The overcorrection. You heard "soft light is good" and wrapped everything in diffusion. Now your product has no shadows at all, no highlights, no dimensionality. It looks like a flat graphic, not a three-dimensional object. There's no visual depth, no sense of the product's form or texture. This is the most common lighting mistake among brands that invest in studio gear but don't learn how to use it.
Why it kills conversions: Lighting is how shoppers perceive material quality, texture, and craftsmanship through a screen. Bad lighting makes a $200 product look like it costs $20. Good lighting makes a $20 product look like it costs $60. The shopper can't separate the product from the photo. If the photo looks cheap, the product feels cheap.
The fix: Use a two-light setup minimum: - Key light: Large softbox at 45 degrees to the product, slightly above. This is your main light source. The softbox creates soft-edged shadows that add dimension without being distracting. - Fill light: Reflector or second softbox on the opposite side at lower power (1-2 stops less than the key). This opens up the shadows without eliminating them. - Background light: Separate light on the background to control background exposure independently.
The goal is controlled contrast. You want shadows: they create dimension and make the product feel three-dimensional. You just want them to be soft, deliberate, and placed intentionally. Adjust your key-to-fill ratio based on the product: glossy products need more fill to control reflections; matte products can handle more contrast.
6. Images Not Optimized for Mobile Viewing
You composed and reviewed your images on a 27-inch monitor. They look incredible. Then a shopper opens your listing on their phone and your product is a tiny speck in the center of a massive white void.
The problem: Over 70% of e-commerce browsing happens on mobile devices. For fashion, beauty, and accessories, it's closer to 80%. Your product images need to work on a 6-inch screen first and a desktop monitor second. But most product photography is still composed for desktop viewing: wide shots with generous whitespace, small products centered in large frames, landscape orientations that waste vertical screen real estate on a phone.
The detail you're proud of: the subtle stitching, the embossed logo, the ingredient list: is invisible on mobile unless you composed specifically for it. And if the shopper has to pinch-to-zoom to see basic product details, you've already lost most of them.
Why it kills conversions: A product that looks tiny on a mobile screen gets scrolled past. A product that requires zooming to evaluate creates friction. Friction kills conversion. Mobile shoppers are moving fast, often browsing during downtime, and they have zero patience for images that don't communicate instantly. If your hero image doesn't sell the product at thumbnail size on a phone, it's failing at its primary job.
The fix: - Shoot and crop for portrait (vertical) or square orientation: these fill more of the mobile screen - Fill the frame. The product should occupy 80-90% of the image area - Include dedicated close-up detail shots that communicate clearly at small sizes without zooming - Test every image on a phone before publishing. Pull up your product page on your phone and ask: "Can I evaluate this product without zooming?" If not, re-crop - Use Shopify's mobile preview or simply check your live listing on an actual device - For hero images specifically, consider a tighter crop for mobile than you'd use on desktop
7. Wasting Your Secondary Image Slots
You have 7 image slots on Amazon and unlimited on Shopify. You're using two of them for nearly identical front-facing shots and leaving the rest empty or filled with duplicates.
The problem: Secondary image slots are the most underutilized asset in e-commerce product photography. Most brands treat them as an afterthought: upload a couple extra angles and call it done. But each image slot is an opportunity to answer a specific shopper question, overcome a specific objection, or highlight a specific selling point.
Using secondary slots for duplicate angles (front, slightly-different-front, front-from-two-inches-to-the-left) wastes this opportunity completely. You're showing the shopper the same information three times instead of giving them three new reasons to buy.
Why it kills conversions: Amazon's internal data shows that products using all 7 image slots convert significantly higher than products using fewer slots. Each image slot that provides unique information reduces the shopper's uncertainty by a measurable amount. Duplicate images don't reduce uncertainty: they just take up space.
The fix: Assign a purpose to every image slot: - Slot 1: Hero/main image (white background, front-facing, product fills the frame) - Slot 2: Back or alternate angle - Slot 3: Detail close-up (texture, material quality, craftsmanship) - Slot 4: Scale/size reference (product in hand, next to common object, or with dimensions overlaid) - Slot 5: Lifestyle/in-use shot - Slot 6: Infographic or feature callout (highlight key specs, ingredients, or differentiators) - Slot 7: Packaging, bundle contents, or brand story image
Every slot should provide information the previous slots didn't. If two images answer the same question, one of them needs to go.
8. Blurry or Low-Resolution Files That Look Soft on Retina Screens
The images looked sharp when you uploaded them. But on a modern phone or laptop, they're soft. The zoom feature on Shopify either doesn't activate or zooms into a blurry mess.
The problem: "Looks fine on my screen" is not a quality standard. Shopify's product zoom requires images of at least 2048x2048 pixels to function properly. Amazon recommends a minimum of 1600px on the longest side, with 2000px+ preferred. If your images don't meet these minimums, the zoom feature: which shoppers actively use to evaluate products: either breaks or reveals that your images aren't sharp enough.
Beyond zoom, every phone and laptop sold in the last five years has a high-DPI (Retina) display. These screens pack 2-3x more pixels per inch than older displays. An image that looks sharp at 72 DPI on an old monitor looks noticeably soft and fuzzy on a Retina screen. Your customers are seeing your products at a quality level you might not even be checking.
Blurriness also comes from motion blur during the shoot, missed focus (especially with shallow depth of field), or camera shake from not using a tripod. These aren't fixable in post-production. AI upscaling tools can add pixels, but they can't add sharpness that was never captured.
Why it kills conversions: Soft images signal low quality. The shopper sees a blurry product photo and subconsciously downgrades the product's perceived value. Why would they trust that a $150 product is well-made when the brand couldn't even take a sharp photo of it? Blurry images also prevent shoppers from evaluating details they care about: material quality, stitching, finish, ingredients: which means more unanswered questions and lower conversion rates.
The fix: - Shoot at your camera's maximum resolution, always - Use a tripod. Non-negotiable for product photography. Even "steady hands" introduce enough motion blur to soften images at high magnification - Set your aperture to f/8-f/11 for maximum sharpness (the sweet spot for most lenses) - Use a remote shutter release or timer to eliminate camera shake - Export at minimum 2048px on the longest side (2048x2048 square for Shopify) - Never upscale low-resolution images and call them "fixed": reshoot instead - Check final exports at 100% zoom on a Retina display before uploading
9. No Consistency in Product Prep
You pulled the product straight from the box and started shooting. The wrinkles, the dust, the fingerprints on the glass, the lint on the fabric: you'll fix it in post, right?
The problem: You won't fix it in post. Not well, anyway. Camera sensors are brutally unforgiving. That tiny crease you can barely see with your naked eye becomes a glaring defect at 2048x2048 under studio lighting. The fingerprint on the glass bottle that's "barely visible"? It's the first thing the shopper sees in the image. The dust particles on the matte black surface? They look like manufacturing defects in the photo.
Inconsistent prep is even worse than no prep. When some products look pristine and others have visible lint, wrinkles, or smudges, it creates a catalog that looks sloppy and unreliable. Prop styling inconsistency: different surfaces, different accessories, different color palettes across a collection: makes your brand look like it has no art direction at all.
Why it kills conversions: Every visible flaw raises a question the shopper shouldn't have to ask. "Is that a defect or just dust?" "Does the fabric actually wrinkle that easily?" "Is that discoloration part of the product?" These micro-doubts compound across your catalog. One slightly dusty product photo might not matter. Fifteen of them across your collection page creates a pattern that says: this brand doesn't care about quality.
The fix: Build a prep checklist and enforce it before every single shot: - Steam or press all fabrics, even if they look "fine" to the naked eye - Clean glass and reflective surfaces with microfiber cloth immediately before shooting - Use compressed air for dust on matte and textured surfaces - Lint roll all fabric products - Remove all tags, stickers, and packaging residue - Inspect every product under your actual shooting lights before firing the first frame - Keep backup units on hand for products that get marked up during the shoot - Create a prop kit with consistent surfaces, tools, and accessories for lifestyle shots - Document your prop styling guidelines so every shoot maintains the same aesthetic
Budget 15-20% of your total shoot time for product prep. It's the highest-ROI time you'll spend.
10. Waiting Until Launch Day to Shoot
The product is launching next Monday. You haven't shot it yet. You'll squeeze in a quick shoot on Friday and upload over the weekend. What could go wrong?
The problem: Everything. Last-minute shoots produce last-minute quality. You don't have time to properly prep products. You can't reshoot if something goes wrong. You're rushing through lighting setup instead of dialing it in. The images come out "good enough" instead of good, because the deadline won't allow good.
But the bigger issue isn't shoot quality: it's everything that happens before launch. Pre-launch marketing needs images. Social media teasers need images. Email campaigns need images. Ad creative needs images. PR outreach needs images. Retail partner onboarding needs images. If you're shooting the week of launch, none of that pre-launch marketing has visual assets. You're launching a product with no visual runway.
Why it kills conversions: Products that launch with rushed photography start behind. There's no pre-launch buzz because there were no images to build buzz with. Day-one ads use subpar images because there wasn't time to create proper ad creative. The listing goes live with 2-3 images instead of the full 5-7 because you ran out of time. And once a product launches with weak images, most brands never go back to reshoot: they just live with the conversion penalty forever.
The fix: Build photography into your product development timeline, not your launch week checklist: - 8-6 weeks before launch: Final product samples arrive. Schedule the shoot. - 6-4 weeks before launch: Complete the shoot. Full shot list, all angles, lifestyle imagery, detail shots. - 4-3 weeks before launch: Post-production, retouching, file prep. Images are final. - 3-2 weeks before launch: Pre-launch marketing begins. Social teasers, email sequences, PR kits, ad creative: all using final product photography. - Launch day: Listings go live with complete, polished image sets. Ads are already running with tested creative. PR has already seeded imagery to publications.
If you're a brand launching new SKUs regularly, consider a retainer arrangement with your photographer so shoot time is pre-booked and you're never scrambling.
The Quick Audit
Here's a fast way to figure out which of these mistakes apply to you:
1. Open your collection/category page on your phone 2. Do all products look like they belong to the same brand? (If not: sizing, lighting, or prep issues) 3. Pick any product. Are there 5+ images? (If not: insufficient coverage) 4. Is there at least one lifestyle shot? (If not: missing context) 5. Zoom in on your hero image. Is it sharp? (If not: resolution problem) 6. Use an eyedropper on the background. Is it #ffffff? (If not: gray background)
If you failed three or more of those checks, your photography is actively costing you sales.
Fix the Foundation First
You don't need to fix all ten at once. Start with the ones that have the biggest impact relative to effort:
Fix immediately: White backgrounds (mistake #1), resolution (mistake #8), and image count (mistake #3). These are the foundation. Everything else is polish on top of a broken base if these three aren't right.
Fix next: Mobile optimization (mistake #6), lighting (mistake #5), and secondary image strategy (mistake #7). These are the conversion multipliers.
Fix systematically: Sizing consistency (mistake #2), lifestyle imagery (mistake #4), product prep (mistake #9), and shoot timing (mistake #10). These are the systems that prevent the other mistakes from recurring.
If you're reading this and thinking "we're making at least half of these mistakes," you're in good company. Most e-commerce brands are. The difference between the brands converting at 2% and the brands converting at 5% often comes down to exactly these fundamentals.
Want to know exactly which mistakes are costing you the most? Get a free image audit from our team. We'll review your current product photography, identify the biggest opportunities, and give you a prioritized fix list: whether you work with us or handle it in-house.
And if you're a brand with hundreds of SKUs that need consistent, scalable product photography, take a look at our AI Studio. We combine professional photography with AI-assisted production to deliver catalog-quality images at a pace and price point that traditional shoots can't match.
Your products deserve better than "good enough." Fix these ten mistakes and your conversion rate will prove it.
Ready to elevate your product photography?
Get a free quote from Austin's leading product photography studio.
Get a Free Quote →