Quick Answer: To prepare products for a professional photo shoot, clean every item meticulously, steam or iron fabric products, bring at least 2–3 backup units per SKU, prepare a detailed shot list in advance, and confirm all props and packaging components are accounted for : proper preparation directly prevents costly studio delays.
You've booked the shoot. You've hired the photographer. The crew is scheduled, the studio is reserved, and your product launch timeline depends on getting these images right.
Then you arrive at the studio and realize the samples you brought have warehouse dust on them. Or the fabric products are wrinkled from shipping. Or you only brought one unit of each product when the photographer needed backups for different styling setups.
We've seen this happen dozens of times at our Austin studio, and it's painful every time. Not because we can't work around it: we can: but because it means delays, additional costs, and sometimes compromised results that could have been avoided with 30 minutes of preparation.
Here's the truth: professional product photography is a collaboration. The photographer brings expertise, equipment, and creative execution. But you: the brand: control one of the most critical variables: the quality and condition of the products being photographed.
Industry estimates suggest that poor product preparation accounts for 15–25% of avoidable studio downtime, adding real cost to photography budgets that can run $2,000–$10,000 per day. According to professional photographers surveyed across commercial studios, the most common on-set delays involve product cleanliness (fingerprints, dust), missing components or packaging, and insufficient sample quantities. Research indicates that post-production retouching to correct avoidable product defects : scratches, lint, wrinkles : can add 30–50% to editing time per image, costs that thorough preparation eliminates entirely.
This guide walks through exactly how to prepare your products for a professional photo shoot, what to bring, what to avoid, and how to prevent the most common delays we see in production.
Why Product Preparation Matters
Let's start with the stakes. Professional product photography isn't cheap: you're typically investing $2,000-10,000+ for a shoot day, depending on scope and complexity. Every minute of studio time has a cost attached to it.
When products arrive unprepared, here's what happens:
Time gets spent fixing instead of shooting. If we're steaming wrinkles out of clothing, cleaning dust off electronics, or waiting for you to source a missing prop, that's time not spent capturing images. A shoot that should take 6 hours stretches to 8 or 10, adding overtime costs.
Creative compromises happen. If the product condition isn't perfect, the photographer has to shoot around imperfections, limit angles, or spend excessive time in post-production fixing issues that shouldn't exist in the first place.
Rescheduling costs real money. If critical items are missing or damaged, you might need to reschedule the entire shoot. That means lost crew time, rescheduling fees, and delays to your launch timeline.
The good news? All of this is preventable. Product preparation isn't complicated: it just requires a checklist and attention to detail.
The Master Pre-Shoot Checklist

Here's what you need to do before you walk into the studio. Print this list, hand it to whoever is packing your products, and make sure every item is checked off.
1. Clean Everything Thoroughly
This sounds obvious, but it's the most common issue we see. Products that have been sitting in a warehouse, handled during QC, or shipped in dusty boxes need to be cleaned before the shoot.
For hard goods (electronics, tools, kitchenware): - Wipe down all surfaces with a microfiber cloth - Remove any fingerprints, smudges, or dust - Check for scuffs or scratches that might need touch-up - If there are protective films or stickers, decide whether they should be removed (ask the photographer)
For fabric products (clothing, bags, linens): - Steam or iron out any wrinkles - Lint-roll to remove dust and fibers - Check seams and stitching for loose threads - Make sure zippers, buttons, and closures are functional
For food and beverage products: - Bring fresh, unspoiled samples - If shooting packaged goods, make sure labels are pristine (no dents, scratches, or fading) - For bottles, wipe down any residue from caps or seals - If you're shooting the actual consumable product (not just packaging), coordinate timing with the photographer: food styling is time-sensitive
2. Bring Multiple Units of Each Product
You need backups. Here's why:
- One unit might have a minor defect you didn't notice until it's under studio lighting
- The photographer might need to try different configurations or styling approaches
- If something gets damaged during the shoot (it happens), you have a replacement
- For complex styling (e.g., stacking products, showing scale), multiple units might be needed in the same frame
Recommended quantity: Bring at least 2-3 units of each product being photographed. If budget allows, bring 4-5 for critical hero products.
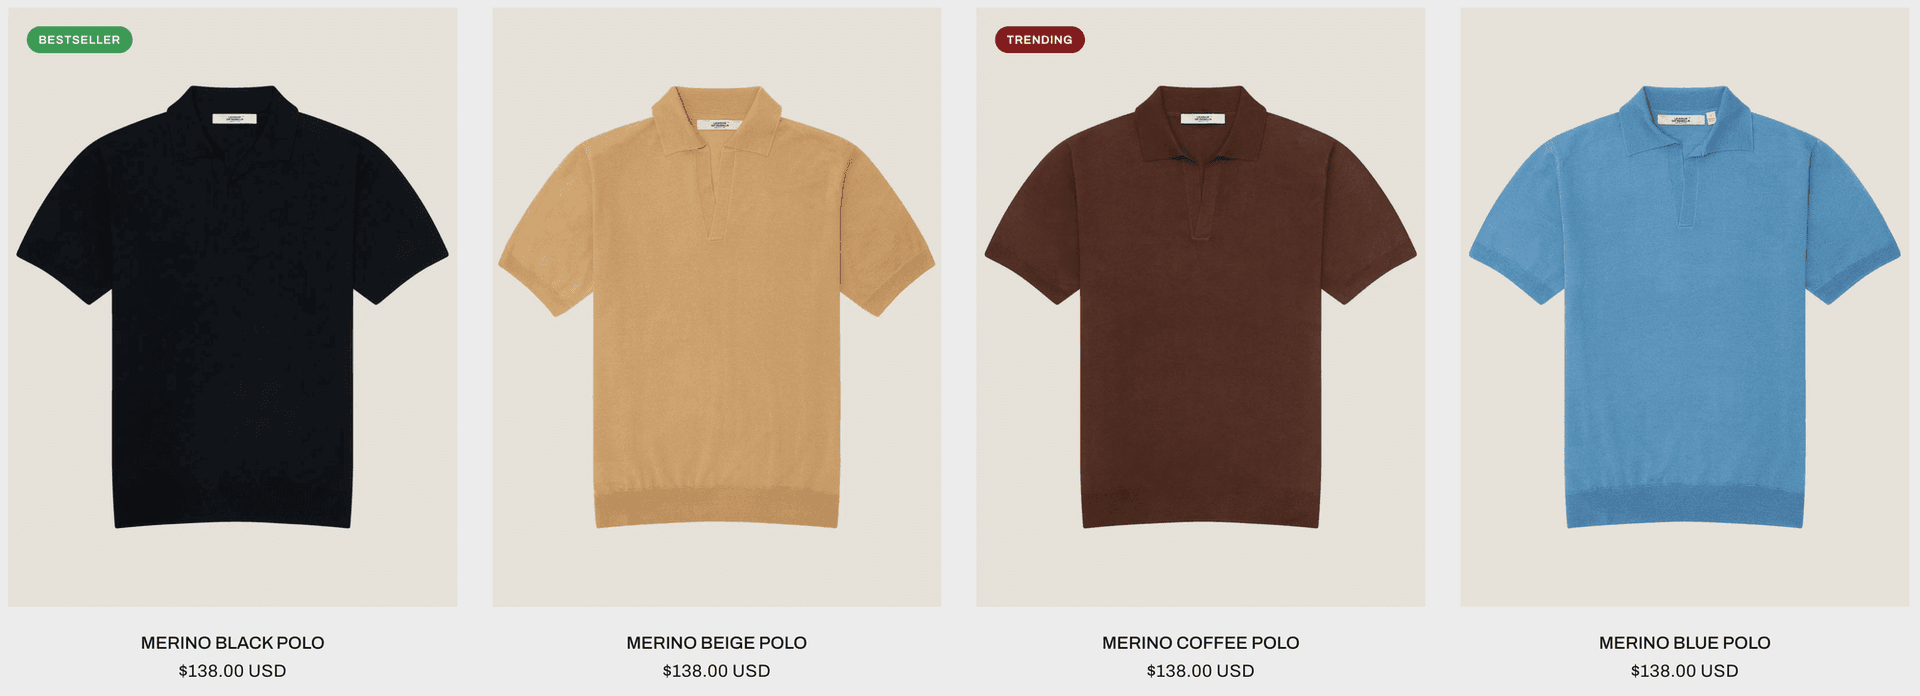
3. Include Color/Material Variations if Relevant
If your product comes in multiple colors or finishes, confirm with the photographer how many need to be shot.
For e-commerce, you typically need to photograph every color variation separately. For lifestyle or advertising work, you might only shoot one or two hero colors and digitally swap the others in post.
Clarify this in advance. Shipping 12 color variations across the country only to find out you needed to shoot just 2 is expensive and frustrating for everyone.
4. Bring Props and Context Items
If the shoot involves lifestyle imagery or context shots, think through what additional items might be needed.
Examples: - Coffee mug product? Bring coffee beans, a French press, maybe a pastry - Tech accessory? Bring the device it's designed to work with - Apparel? Bring complementary pieces for styling (shoes, accessories, layering items) - Home goods? Bring items that establish scale or context (books, plants, tableware)
When in doubt, ask the photographer. We can often source props here in Austin, but if you have specific brand-aligned items or unique pieces, bring them.
5. Prepare Accurate Product Information
Bring a document (digital or printed) with key details for every product: - SKU or product name - Exact color names (as they'll appear on your website) - Any specific angles or features that must be captured - Compliance requirements (e.g., Amazon main image specs) - Special notes (e.g., "avoid showing the bottom: there's a manufacturing mark")
This keeps everyone aligned and prevents miscommunication during the shoot.
6. Coordinate Packaging Decisions
If you're shooting packaged products, decide in advance: - Do you need shots of the product in packaging, out of packaging, or both? - Should protective films, tags, or stickers be removed? - Do you need the packaging itself photographed separately (e.g., for Amazon compliance)?
Pro tip: If you're removing products from sealed packaging, bring extra sealed units. Clients often realize mid-shoot they need a "still in box" shot after they've already unpackaged everything.
Common Delays and How to Avoid Them
Let's walk through the most frequent issues that slow down shoots and how to prevent them.
Delay 1: Wrinkled or Damaged Fabric Products
The problem: Apparel, bags, and textile products arrive folded in boxes, covered in creases that won't photograph well.
The fix: Steam or iron everything before packing. If you're shipping products to the studio, include a note asking them to steam on arrival. Better yet, coordinate with the photographer to have a steamer on-site.
Our approach: We keep a professional garment steamer at our Austin studio, but it adds 10-15 minutes per item to the shoot timeline. If you're shooting 20 apparel pieces, that's 3-4 hours of prep that could have been avoided.
Delay 2: Missing or Mismatched Components
The problem: You bring a product that requires assembly, batteries, or specific components, but they're missing or incompatible.
Examples we've seen: - A smart device that needs a specific charging cable (not included) - Furniture that requires assembly, but the hardware is missing - A product designed to attach to another item, but the base unit wasn't brought
The fix: Test every product before packing it. Make sure it's complete, functional, and ready to be photographed exactly as a customer would receive it.
Delay 3: Unclear Shot Requirements
The problem: You arrive at the studio without a clear shot list or creative brief, and the photographer has to guess what you need.
The fix: Prepare a shot list in advance. It doesn't need to be complex: a simple spreadsheet or doc with: - Product name - Required angles (front, back, detail, in-use, etc.) - Platform requirements (Amazon, Instagram, website PDP) - Any specific creative requests
Bonus: If you have reference images (competitor shots, mood boards, previous work), bring them. Visual examples eliminate ambiguity.
Delay 4: Product Defects Discovered On-Set
The problem: Under professional studio lighting, minor defects that weren't visible in the warehouse become glaring. Scratches, discoloration, misaligned stitching, or manufacturing inconsistencies can derail a shoot.
The fix: Inspect products under bright, direct light before packing them. If you notice issues, decide whether they can be retouched in post-production (minor) or whether you need to source a replacement unit (major).
When to ask for help: If you're unsure whether a defect will be an issue, send the photographer a photo before the shoot day. We can tell you whether it's fixable or if you need a backup.
Delay 5: Wrong Product Size or Scale
The problem: You're shooting products that need to show scale (e.g., a compact travel accessory), but the samples you brought are the wrong size or don't include scale reference items.
The fix: If scale is important to your product story, bring items for reference: a hand model, coins, common objects: or coordinate with the photographer to have them on hand.
What to Bring: The Complete Packing List
Here's a comprehensive list of what should be in your box when you ship or deliver products to the studio:
The Products Themselves - 2-3 units of each product (more for critical hero shots) - All color/material variations being photographed - Products in original packaging (if package shots are needed) - Unpackaged units (if product-only shots are needed)
Supporting Items - Batteries, chargers, or power supplies (if applicable) - Assembly hardware or instructions (if applicable) - Props or complementary items for lifestyle shots - Brand-aligned styling items (if you have specific preferences)
Documentation - Shot list or creative brief - Product information sheet (SKU, color names, special notes) - Reference images or mood boards - Contact info for the person who can answer questions during the shoot
Cleaning/Prep Supplies (Optional but Helpful) - Microfiber cloths - Lint roller - Steamer (if fabric products and you're delivering in person) - Touch-up paint or markers (if minor scuffs can be fixed on-set)
What NOT to Bring
Just as important as what to bring is what to leave behind:
Damaged or defective units. If a product has a known defect, don't bring it. It's not going to photograph well, and it wastes everyone's time.
Prototypes that don't match production specs. If you're shooting for e-commerce, the product needs to match what customers will actually receive. Prototype units with different colors, materials, or features create problems down the line.
Excessive quantities. You don't need 20 units of the same product unless you're doing scale shots or high-volume destruction testing. Overpacking means more to manage and more risk of mix-ups.
Day-of-Shoot Best Practices
You've prepped everything perfectly. Now here's how to make the shoot day itself run smoothly:
Arrive (or ship) on time If you're delivering products in person, arrive 15-30 minutes before the scheduled shoot start. This gives the crew time to unpack, inspect, and set up the first shot.
If you're shipping, coordinate delivery to arrive at least one day before the shoot. This allows time to identify any issues and source replacements if needed.
Designate a point person Someone from your team should be available (in person or on call) to answer questions during the shoot. Creative decisions come up, and having someone with authority to make calls prevents delays.
Trust the process You hired professionals for a reason. If the photographer suggests a different angle, lighting setup, or styling approach, there's usually a good reason. Stay collaborative, not combative.
Review as you go (if present) If you're on-set, periodically review shots with the photographer. Catching issues early (wrong angle, missing detail, styling tweak) is easier than requesting changes after the shoot wraps.
Post-Shoot: What Happens to Your Products?
Clarify this in advance with the studio:
Will products be returned? Some studios include return shipping. Others don't. If you need products back (especially expensive or limited items), confirm the plan before the shoot.
What condition will they be in? Products used for photography might have minor wear: tape residue from rigging, slight creasing from handling, etc. If you need them in sellable condition, discuss this upfront.
Can you leave samples? Some photographers keep client samples on file for future reshoots or add-on requests. If that's an option and it's convenient for you, it can save shipping costs later.
When to Hire a Producer
For complex shoots: especially if you're coordinating multiple products, models, locations, or tight timelines: consider hiring a producer to handle logistics.
A producer will: - Coordinate shot lists and creative briefs - Manage product prep and delivery - Source props and arrange styling - Handle model casting and releases - Keep the shoot on schedule and on budget
At 51st & Eighth, we include production services for larger projects. For smaller shoots, we'll guide you through the prep process so you can handle it yourself.
Ready to Shoot?
Product photography is a partnership between your brand and the creative team. We bring the expertise, equipment, and execution. You bring well-prepped products and clear communication about what you need.
When both sides do their part, the result is a smooth shoot, beautiful images, and a final deliverable that's worth the investment.
If you're planning a product shoot in Austin (or shipping products to us from anywhere in the country), reach out. We'll send you a detailed prep guide tailored to your specific products and shoot goals, and we'll walk you through exactly what to expect from start to finish.
Let's make sure your products look as good on camera as they do in real life.
Frequently Asked Questions
Q: How many sample units should I bring to a product photo shoot? A: Bring a minimum of 2–3 units per SKU for most products. Hero items that will be heavily styled or shot from many angles warrant 4–5 backup units. Fragile products, items with packaging that will be opened on-set, and anything with components that could break or smudge need even more backups. Running out of clean samples mid-shoot is one of the most common and preventable causes of costly delays.
Q: How should I clean products before a photo shoot? A: The cleaning standard depends on the product: hard goods (electronics, bottles, metal products) need microfiber cloths and, if applicable, residue-free glass cleaner or isopropyl alcohol. Fabric products need steaming, not ironing : irons can create flat press marks that photograph badly. Jewelry needs anti-tarnish polish and a fine anti-static brush. Clear or glossy surfaces should be handled only with cotton gloves from cleaning through studio delivery to prevent fingerprints.
Q: What should my shot list include? A: A good shot list specifies the product name, required angles (front, back, side, 3/4, detail close-ups), any specific features to highlight, prop requirements, and any reference images that show the desired style or composition. Include your target platforms (Amazon main image needs white background; Instagram shots can be lifestyle) so the photographer can plan accordingly. The more specific your shot list, the faster the shoot runs and the more likely the final images match your vision.
Q: What happens if I arrive at the shoot with damaged or unprepared products? A: Most professional studios can work around minor issues : we stock basic cleaning supplies, a steamer, and touch-up tools. However, significant damage, deep scratches, incorrect product versions, or missing components may require rescheduling all or part of the shoot, with associated fees. For products being shipped to the studio rather than hand-delivered, use appropriate padding, climate control for sensitive items, and arrive at least a day early so there's time to address any transit damage.
Ready to elevate your product photography?
Get a free quote from Austin's leading product photography studio.
Get a Free Quote →