
Quick Answer: Jewelry and fashion photography requires specialized lighting : diffusion tents and macro lenses for reflective metals and gemstones, large softboxes for fabric drape : plus professional color correction and retouching to accurately represent products and drive conversions for high-consideration purchases.
Jewelry and fashion are among the most technically demanding categories in product photography. A ring is a few centimeters wide, highly reflective, and needs to look desirable enough that someone will spend hundreds or thousands of dollars without ever touching it. A garment needs to show fabric texture, fit, drape, and construction while simultaneously conveying the lifestyle and identity the buyer aspires to. Both categories punish lazy photography more severely than almost any other product type.
According to Shopify research, products with five or more high-quality images convert at significantly higher rates than those with one or two : this holds especially true for jewelry and fashion, where customers can't physically inspect items before buying. Research from Retail Dive indicates that 22% of online returns are caused by products looking different from their photos, making color accuracy and realistic representation a direct business cost. According to MDG Advertising, 67% of consumers say high-quality product images are "very important" when making a purchase decision online.
The technical challenges are real: reflective surfaces, tiny details, fabric texture, color accuracy: but the bigger challenge is creative. Jewelry and fashion photography aren't just about documenting a product. They're about making someone feel something. The diamond needs to look radiant. The dress needs to look like the best version of how the buyer sees herself. The watch needs to communicate status, precision, and taste. Getting the technical execution right is the baseline. Making the product feel irresistible is the goal.
This guide covers the practical techniques for photographing jewelry, fashion, and apparel: from lighting setups for reflective surfaces to styling approaches for flat lays, from working with models to optimizing images for e-commerce platforms. Whether you're shooting for a major fashion brand or photographing handmade jewelry for an Etsy shop, the fundamentals are the same.
Jewelry Photography: Mastering the Small and Reflective
Jewelry is uniquely challenging because it combines two of photography's most difficult subjects: very small objects and highly reflective surfaces. A piece of jewelry is essentially a tiny mirror that reflects everything around it: the camera, the photographer, the studio walls, light sources. Controlling those reflections while maintaining the brilliance and sparkle that makes jewelry appealing is the central technical challenge.
Lighting for Jewelry
The tent approach. The most reliable method for clean jewelry photography is surrounding the piece with diffused light: essentially placing it inside a tent of white translucent material. This eliminates harsh reflections by replacing everything the jewelry can "see" with soft, even white light. You can buy commercial light tents, build one from PVC pipe and diffusion fabric, or improvise with a large sheet of white paper curved around the product.
The tent approach produces clean, commercial results but can look flat if not supplemented with directional light. Add a small, focused light source from one side (through the tent material) to create highlights and dimension. The key is controlled contrast: enough to show shape and sparkle, not so much that you get ugly hot spots or dark reflections.
Strip lighting for metals. Long, narrow light sources (strip softboxes) create the smooth, graduated highlights on metal surfaces that communicate quality. Position strip lights at 45-degree angles on either side of the piece, with a fill card (white foam board) underneath to open up shadows. The gradual transition from light to shadow across the metal surface is what makes it look three-dimensional and polished.
Spot lighting for gemstones. Gemstones need point-source light to sparkle. After setting up your soft ambient lighting, add a small, hard light source (a bare flash or a focused LED) positioned above and behind the piece. This creates the bright points of light that make diamonds fire and colored gemstones glow. The challenge is balancing sparkle with exposure: the ambient light exposes the metal correctly while the spot light creates brilliance in the stones.
Black cards for definition. Counter-intuitively, adding black cards (pieces of black paper or foam board) near reflective jewelry improves the image. Black reflections on metal edges create definition and visual contrast. Without some dark reflections, a ring or bracelet looks like a formless blob of white light. The interplay of light and dark reflections is what reveals shape and dimensionality in reflective objects.
Camera Settings for Jewelry
Use a macro lens. Jewelry photography requires a macro or close-macro lens to capture fine detail at close distances. A 100mm macro is the workhorse of jewelry photography, providing enough working distance between the lens and the product to light effectively while delivering sharp, detailed images.
Shoot at f/11 to f/16. Jewelry requires deep depth of field to keep the entire piece sharp. At macro distances, even f/11 gives you only a few millimeters of depth of field. Focus stack if needed: capture multiple images at different focus points and merge them in post-production for edge-to-edge sharpness.
Use a tripod, always. At macro magnification, even microscopic camera movement creates blur. Use a sturdy tripod and trigger the shutter remotely or on a timer.
Shoot tethered. Connecting your camera to a computer and reviewing images at full resolution during the shoot saves enormous time. Details that look fine on the camera's small LCD screen often reveal problems at full size: dust particles, fingerprints, misplaced reflections.
Styling Jewelry for Photography
Clean everything obsessively. Fingerprints, dust particles, and tarnish that are invisible to the naked eye become obvious at macro magnification. Use a microfiber cloth, anti-static brush, and jewelry cleaning solution before every shot. Keep cotton gloves on set and handle pieces only by edges.
Use museum putty or wax. Jewelry doesn't naturally stand upright, hang in mid-air, or position itself at flattering angles. Museum putty (Blu-Tack or similar) positioned behind or beneath the piece holds it in place while remaining invisible from the camera angle. Remove it in post-production if any shows.
Consider the surface. The surface beneath or behind jewelry influences how the piece is perceived. White surfaces communicate cleanliness and modernity. Dark surfaces (black velvet, dark stone) create drama and luxury. Textured surfaces (fabric, wood, marble) add context and lifestyle. Choose based on the brand's positioning.
Style in context when appropriate. For lifestyle or editorial jewelry photography, show the pieces in context: on skin, with fabric, alongside complementary items. A necklace draped across a collarbone communicates scale, wearability, and aspiration in ways a product-only shot cannot.
Common Jewelry Photography Mistakes
Too much reflection control. If you eliminate all reflections from metal, it stops looking metallic. Metal communicates its nature through reflections. The goal is to control reflections, not eliminate them.
Incorrect color rendering. Gold needs to look like gold, not yellow. Silver needs to look silver, not gray. Rose gold, platinum, white gold: each metal has a specific color signature that needs to be preserved through accurate white balance and careful post-production.
Oversized sparkle effects. Adding star filters or excessive post-production sparkle effects cheapens the look. Real gemstone brilliance is subtle and complex. If you need to enhance sparkle in post-production, do it with restraint.
Ignoring scale. Online shoppers can't tell how big a piece of jewelry is without context. Include a sense of scale in at least some images: on a model, next to a recognizable object, or with measurements indicated.
Apparel Photography Methods: Quick Comparison

| Method | Shows Fit | Shows Fabric | Cost | Speed | Best For | |. . --|. . . --|. . . . -|. . |. . -|. . . -| | Flat lay | No | Yes | Low | Fast | Basics, patterns, catalogs | | Ghost mannequin | Partial | Yes | Medium | Medium | Mid-market, uniforms | | On-model | Yes | Yes | High | Slower | Premium, lifestyle brands |
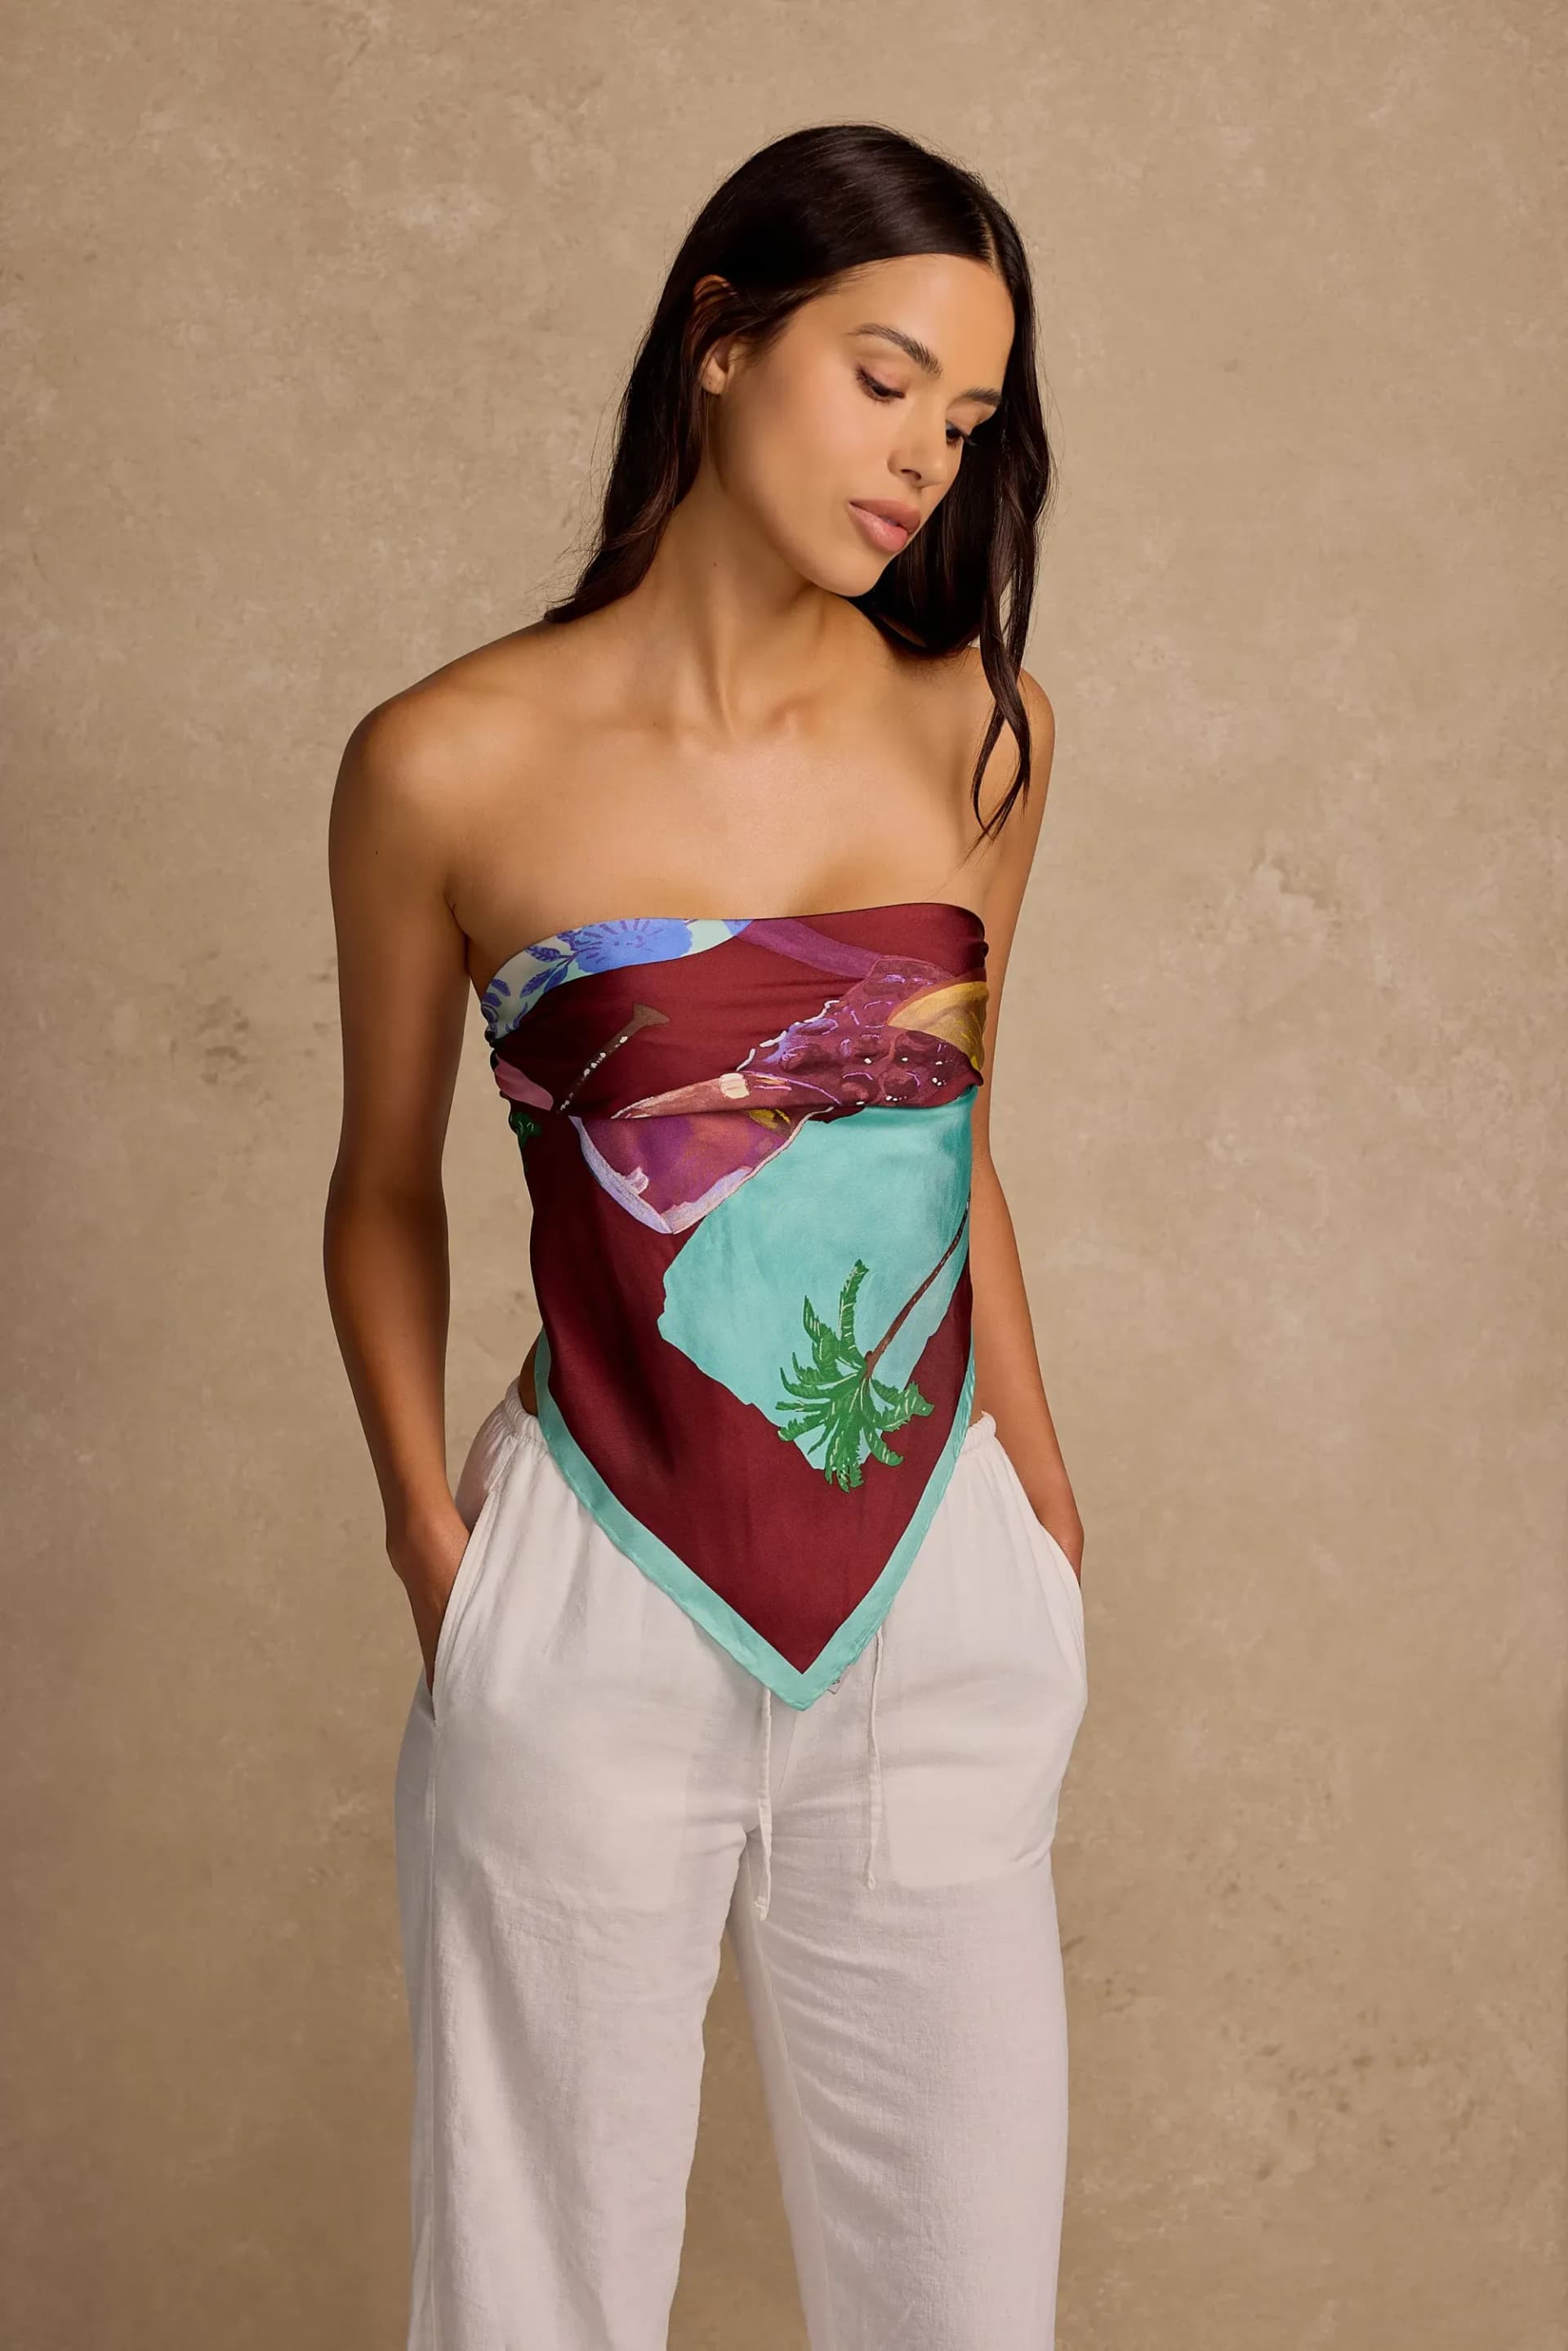
Fashion and Apparel Photography: Showing Fit, Fabric, and Feeling
Fashion photography encompasses everything from flat lays for e-commerce to editorial shoots for campaigns. The technical challenge shifts from managing reflections to managing fabric: showing how garments drape, fit, move, and feel.
Three Approaches to Apparel Photography
Flat lay. Garments laid flat on a surface, photographed from directly above. This is the cleanest, most efficient method for e-commerce and catalog photography. Flat lays show design details, pattern, and color accurately but can't show fit or drape.
On-model. Garments photographed on a real person. This is the gold standard for showing how clothing actually looks when worn: the fit, the silhouette, the movement. On-model photography is more expensive and time-consuming but dramatically outperforms other approaches in conversion.
Ghost mannequin (invisible mannequin). Garments photographed on a mannequin, then the mannequin is removed in post-production to create a hollow, 3D-looking garment shape. This shows the garment's form and construction without the cost of a model. Common for basics, uniforms, and mid-market apparel.
Lighting for Fashion Photography
Large, soft light sources. Fabric needs soft, even illumination to show texture without harsh shadows. Large softboxes (48 inches or bigger), or bounced light from V-flats, provide the broad, wrapping light that reveals fabric quality.
Side lighting for texture. When fabric texture is important (tweed, denim, knits, linen), bring the light source to a more extreme angle. Side lighting creates shadows in the fabric's surface that make texture visible. Front-on lighting flattens texture and makes everything look like the same material.
Consistent lighting for color accuracy. Fashion brands live and die by color accuracy. Customers who receive a garment that doesn't match the color they saw online return it. Calibrate your monitor, set a precise white balance (using a gray card, not auto white balance), and light consistently across all images. Include a color checker in at least one frame per session for post-production reference.
Hair light and edge light for on-model shots. When photographing models, add a light behind and above to separate the model from the background. This edge light creates a subtle outline that adds depth and makes the garment stand out, especially with dark clothing on dark backgrounds.
Flat Lay Technique
Build from the center out. Place the hero garment first, then build the composition around it with complementary items: accessories, shoes, props that reinforce the styling narrative.
Create natural folds and movement. A garment pressed completely flat looks lifeless. Introduce subtle, natural-looking folds and curves that suggest movement and body shape. Sleeves should look like arms could be in them. Collars should look worn, not pressed.
Maintain symmetry or intentional asymmetry. Flat lays work best when they're either perfectly symmetrical (creating visual order) or deliberately asymmetrical (creating visual interest). Compositions that are accidentally unbalanced look careless.
Shoot from directly above. Use a camera mounted on an overhead rig or a tall tripod angled straight down. Any angle other than perpendicular to the surface creates perspective distortion that makes garments look misshapen.
Steam, don't iron. Steaming removes wrinkles without creating the sharp press marks that look unnatural in photography. Keep a steamer on set and steam every garment immediately before shooting.
On-Model Photography
Casting matters enormously. The model's body type, energy, and movement style should match the brand's target customer. Casting the wrong model for the brand: regardless of how conventionally attractive they are: creates a disconnect that undermines the photography.
Direct movement, not poses. Static model poses look dated and stiff. Direct your model to walk, turn, reach, sit, stand: capture movement in progress. The best on-model fashion photography freezes a natural moment rather than holding an artificial position.
Shoot in bursts during movement. When a model is walking or turning, shoot continuously. The perfect moment: where the fabric drapes naturally, the expression is relaxed, and the body position flatters the garment: often happens between directed actions, not during them.
Show the back. Online shoppers consistently want to see the back of garments. Ensure your shot list includes back views of every piece.
Multiple angles for e-commerce. For online retail, each garment needs a minimum of front, back, side, and detail shots. Close-ups of fabric texture, closures, labels, and special construction details reduce return rates by setting accurate expectations.
Ghost Mannequin Technique
The ghost mannequin (or hollow man) technique creates a 3D garment shape without a visible mannequin:
Step 1: Photograph the garment on a mannequin from the front.
Step 2: Remove the garment, turn it inside out, and photograph the interior neckline, collar, or waistband area on a flat surface.
Step 3: In Photoshop, mask out the mannequin from the front image and composite the interior neckline/collar from the second image. The result is a garment that appears to float in three-dimensional space.
This technique requires practice in post-production but produces professional, consistent results for high-volume apparel catalogs.
E-Commerce Optimization
Regardless of whether you're selling jewelry or apparel, e-commerce platforms have specific requirements and best practices.
Image Requirements by Platform
Shopify: Recommended 2048 x 2048px square images. Supports zoom functionality at higher resolutions. Maximum file size 20MB. No minimum image requirements but recommends consistent square aspect ratios.
Amazon: Minimum 1000px on longest side (for zoom). Main image requires pure white background (RGB 255,255,255), product filling 85% of frame, no text overlays. Additional images can show lifestyle, infographics, and scale.
Etsy: Recommended minimum 2000px on shortest side. First image should be clean and representative. Supports up to 10 images per listing.
Conversion-Boosting Image Strategies
Show the product from every angle. Five to eight images per product is the baseline for serious e-commerce. More images reduce return rates and increase buyer confidence.
Include a scale reference. Jewelry on a hand. Clothing on a model with their height listed. A bag next to a common object. Scale information eliminates a major source of online purchase anxiety.
Show color variations accurately. If a product comes in multiple colors, photograph each one. Don't rely on Photoshop color swaps: they rarely look accurate, especially with fabrics where dye affects the texture appearance.
Use consistent backgrounds. Whether you choose white, gray, or a branded color, keep backgrounds consistent across your entire product catalog. Inconsistent backgrounds make a store look disorganized and unprofessional.
Add lifestyle context. Beyond the standard product-on-white images, include at least one lifestyle image showing the product in use or in an aspirational context. These images help the buyer visualize ownership.
Post-Production for E-Commerce
Background removal. Most e-commerce platforms prefer or require clean backgrounds. Use masking techniques (pen tool in Photoshop, or AI-powered tools like remove.bg for volume) to isolate products cleanly.
Color correction to match physical product. Photograph a color checker alongside your products, then use it in post-production to ensure screen colors match physical colors as closely as possible. This is especially critical for fashion where color accuracy drives returns.
Consistent cropping and sizing. Export all product images at identical dimensions with consistent product placement within the frame. This creates visual consistency on category and search result pages.
Optimize file sizes. E-commerce images need to load fast. Compress images (tools like TinyPNG or Squoosh) to the smallest file size that maintains acceptable quality. Aim for under 200KB per image for web display.
Building a Jewelry or Fashion Photography Workflow
For Small Brands and Startups
Start simple and consistent. A single light source (a large window or one softbox), a clean background, a tripod, and a macro lens (for jewelry) or a standard zoom (for fashion) will produce solid results. Focus on consistency and cleanliness over creative ambition.
Batch your shoots. Photograph all new products in a single session. Set up your lighting once, calibrate your settings, and move through products efficiently. Batching produces more consistent results than photographing products individually over time.
Invest in post-production. For small brands, the editing process often matters more than the shooting process. Clean backgrounds, accurate colors, and consistent cropping can elevate simple photography to professional-looking results.
For Growing Brands
Add lifestyle photography. Once your product catalog photography is solid, invest in on-model and lifestyle imagery. These images drive social media performance and improve conversion rates beyond what product-only images can achieve.
Build a content library. Think beyond individual product launches. Build a library of brand imagery: lifestyle shots, detail textures, model moments, behind-the-scenes content: that can be used across marketing channels for months.
Establish a style guide. Document your photography standards: lighting setup, camera settings, editing parameters, styling guidelines. This ensures consistency even as you work with different photographers or scale your production.
For Established Brands
Campaign-level creative direction. Seasonal campaigns need creative direction that ties individual product images into a cohesive visual narrative. Invest in mood boarding, location scouting, model casting, and styling that elevates beyond standard product photography.
Multi-channel content production. Plan shoots to produce assets for every channel simultaneously: e-commerce product images, social media lifestyle content, advertising creative, email imagery, and editorial content. This requires more planning upfront but dramatically reduces per-asset costs.
Testing and iteration. Use A/B testing on product pages to determine which photography styles, angles, and presentations drive the highest conversion. Let data guide your creative decisions rather than assumption.
Working with a Professional Studio
For brands that have outgrown DIY photography, working with a professional studio offers significant advantages:
Consistent quality. Professional studios maintain controlled environments, calibrated equipment, and tested workflows that produce reliable results shoot after shoot.
Speed and efficiency. Experienced jewelry and fashion photographers work faster because they've solved the technical problems hundreds of times. A professional can photograph 30-50 jewelry pieces in a day versus 5-10 for someone figuring it out.
Creative expertise. Beyond technical execution, professional photographers bring creative perspective: styling ideas, composition choices, and creative approaches that come from years of experience in the category.
Post-production pipeline. Professional studios typically include editing, retouching, and file delivery in their services, saving the brand from managing a separate post-production workflow.
When evaluating studios, ask to see category-specific work. A photographer who shoots excellent food photography may struggle with jewelry's reflective surfaces or fashion's fabric demands. Category experience matters in jewelry and fashion photography more than in most other product categories.
The investment in professional photography pays for itself through higher conversion rates, lower return rates, stronger brand perception, and a content library that serves marketing needs for months or years. For jewelry and fashion brands where visual presentation is inseparable from the product's value proposition, photography quality directly determines business performance.
51st & Eighth is an Austin-based creative production studio specializing in product photography, fashion content, and brand campaigns. [Get in touch](/contact) to discuss your jewelry or fashion photography needs.
Frequently Asked Questions
Q: How do you photograph jewelry without reflections ruining the shot? A: The key is controlled reflections, not eliminated reflections : metal needs some reflections to look metallic. Surround the piece with diffused white light using a tent or large softboxes to replace harsh reflections with smooth, even gradients. Add black cards near the edges to create the contrast that reveals shape. Then add one small, hard light to create sparkle in gemstones. The balance between controlled white reflections and precise dark edges is what makes jewelry look three-dimensional and valuable.
Q: What's the difference between ghost mannequin and on-model photography for fashion? A: Ghost mannequin photography removes the mannequin in post-production to create a 3D floating garment effect : it's faster and less expensive than on-model but can't show fit, movement, or how the garment behaves on a real body. On-model photography is the gold standard for conversion because it shows exactly how the piece will look when worn. Most apparel brands use ghost mannequin for basics and on-model for hero pieces, premium items, and campaign imagery.
Q: How many images does an online jewelry or fashion listing need? A: A minimum of five to eight images per product is the baseline for e-commerce performance: front, back, side, detail close-up, scale reference, and at least one lifestyle or on-model shot. Research consistently shows that listings with more images have lower return rates and higher conversion rates. For jewelry specifically, include close-ups of clasp mechanisms, stone settings, metal finish, and any engraving to set accurate buyer expectations.
Q: Can I photograph my own jewelry or clothing with a smartphone? A: For jewelry, a smartphone rarely delivers the macro detail, controlled reflections, and accurate color rendering that drives conversions : the reflective surfaces and tiny scale expose equipment limitations quickly. For fashion flat lays, a modern smartphone with good natural light can produce acceptable catalog images, but on-model shooting benefits significantly from professional equipment and direction. The ROI on professional photography is typically fastest for high-margin, high-return-rate categories like jewelry and fashion.
Ready to elevate your product photography?
Get a free quote from Austin's leading product photography studio.
Get a Free Quote →