Quick Answer: A well-prepped product cuts shoot time by 30-40% and dramatically reduces the chance of reshoots. This guide is the prep checklist we wish every client had before their first shoot: covering product cleaning, shot lists, props, reference images, packaging decisions, and what to actually bring on the day.
You booked a product photoshoot. Nice. That's a good decision and one that will pay for itself many times over if the images are done right.
But here's what most first-time clients don't realize: the quality of your final images depends as much on what happens before the shoot as what happens during it. The photographer handles lighting, composition, and retouching. You handle showing up with a product that's actually ready to be photographed.
That's not a knock on anyone. It's just the reality. Studios estimate that 20-30% of shoot time on unmanaged projects is lost to product prep issues: things like dusty packaging, missing variants, no shot list, and last-minute prop decisions. That's time you're paying for. And it's entirely avoidable.
This guide is the prep checklist we send to every new client at 51st & Eighth. Whether you're shooting skincare, electronics, apparel, or packaged food, these steps will help you walk into the studio ready to make the most of every minute.
Why Prep Matters More Than People Think
Let's get the uncomfortable truth out of the way: most shoot delays and reshoots come from unprepared products, not photographer error.
A photographer can work magic with lighting and angles. What they can't do is remove lint that's embedded in fabric, fix a label that's peeling, or conjure a second version of your hero product when the first one gets a smudge during handling.
When a product shows up clean, labeled, and accompanied by a clear shot list, the shoot moves fast. The photographer spends their time on creative decisions: angles, lighting ratios, composition: instead of problem-solving logistics. That efficiency directly lowers your cost. A well-prepped product typically cuts shoot time by 30-40%, which means fewer billable hours and more images per session.
The flip side is painful. When products arrive unprepared, the photographer has to pause for cleaning, the team has to improvise on props and styling, and everyone ends up making decisions on the fly that should have been made a week earlier. That's how you end up with images that are technically fine but don't match your brand vision.
Prep is the highest-leverage thing you can control. Everything else: the studio, the lighting, the post-production: is the photographer's job. This part is yours.
Clean and Prep the Product Itself
This sounds obvious. It is not. What looks perfectly clean under your office lights will reveal every fingerprint, dust particle, and micro-scratch under studio lighting. Cameras are unforgiving, and retouching costs add up fast.
General Rules (All Product Types)
- Use a microfiber cloth as your baseline. Lint rollers for fabric. Compressed air for crevices and textured surfaces.
- Inspect every product under bright, direct light before packing it. Hold it at different angles. If you can see it, the camera will see it ten times worse.
- Handle products with clean hands or cotton gloves, especially glass, metal, and glossy surfaces.
Category-Specific Prep
Bottles, glassware, and glossy surfaces: Use streak-free glass cleaner and let the product dry completely before the shoot. Even a faint streak will catch the light and show in the final image. Bring the cleaner with you to the studio for touch-ups between shots.
Soft goods (apparel, bags, textiles): Steam, don't iron. Ironing can create shine on certain fabrics that looks unnatural on camera. Remove all tags unless you specifically want them visible. If the product has been folded, steam out the fold lines at least a day before: some creases need time to fully relax.
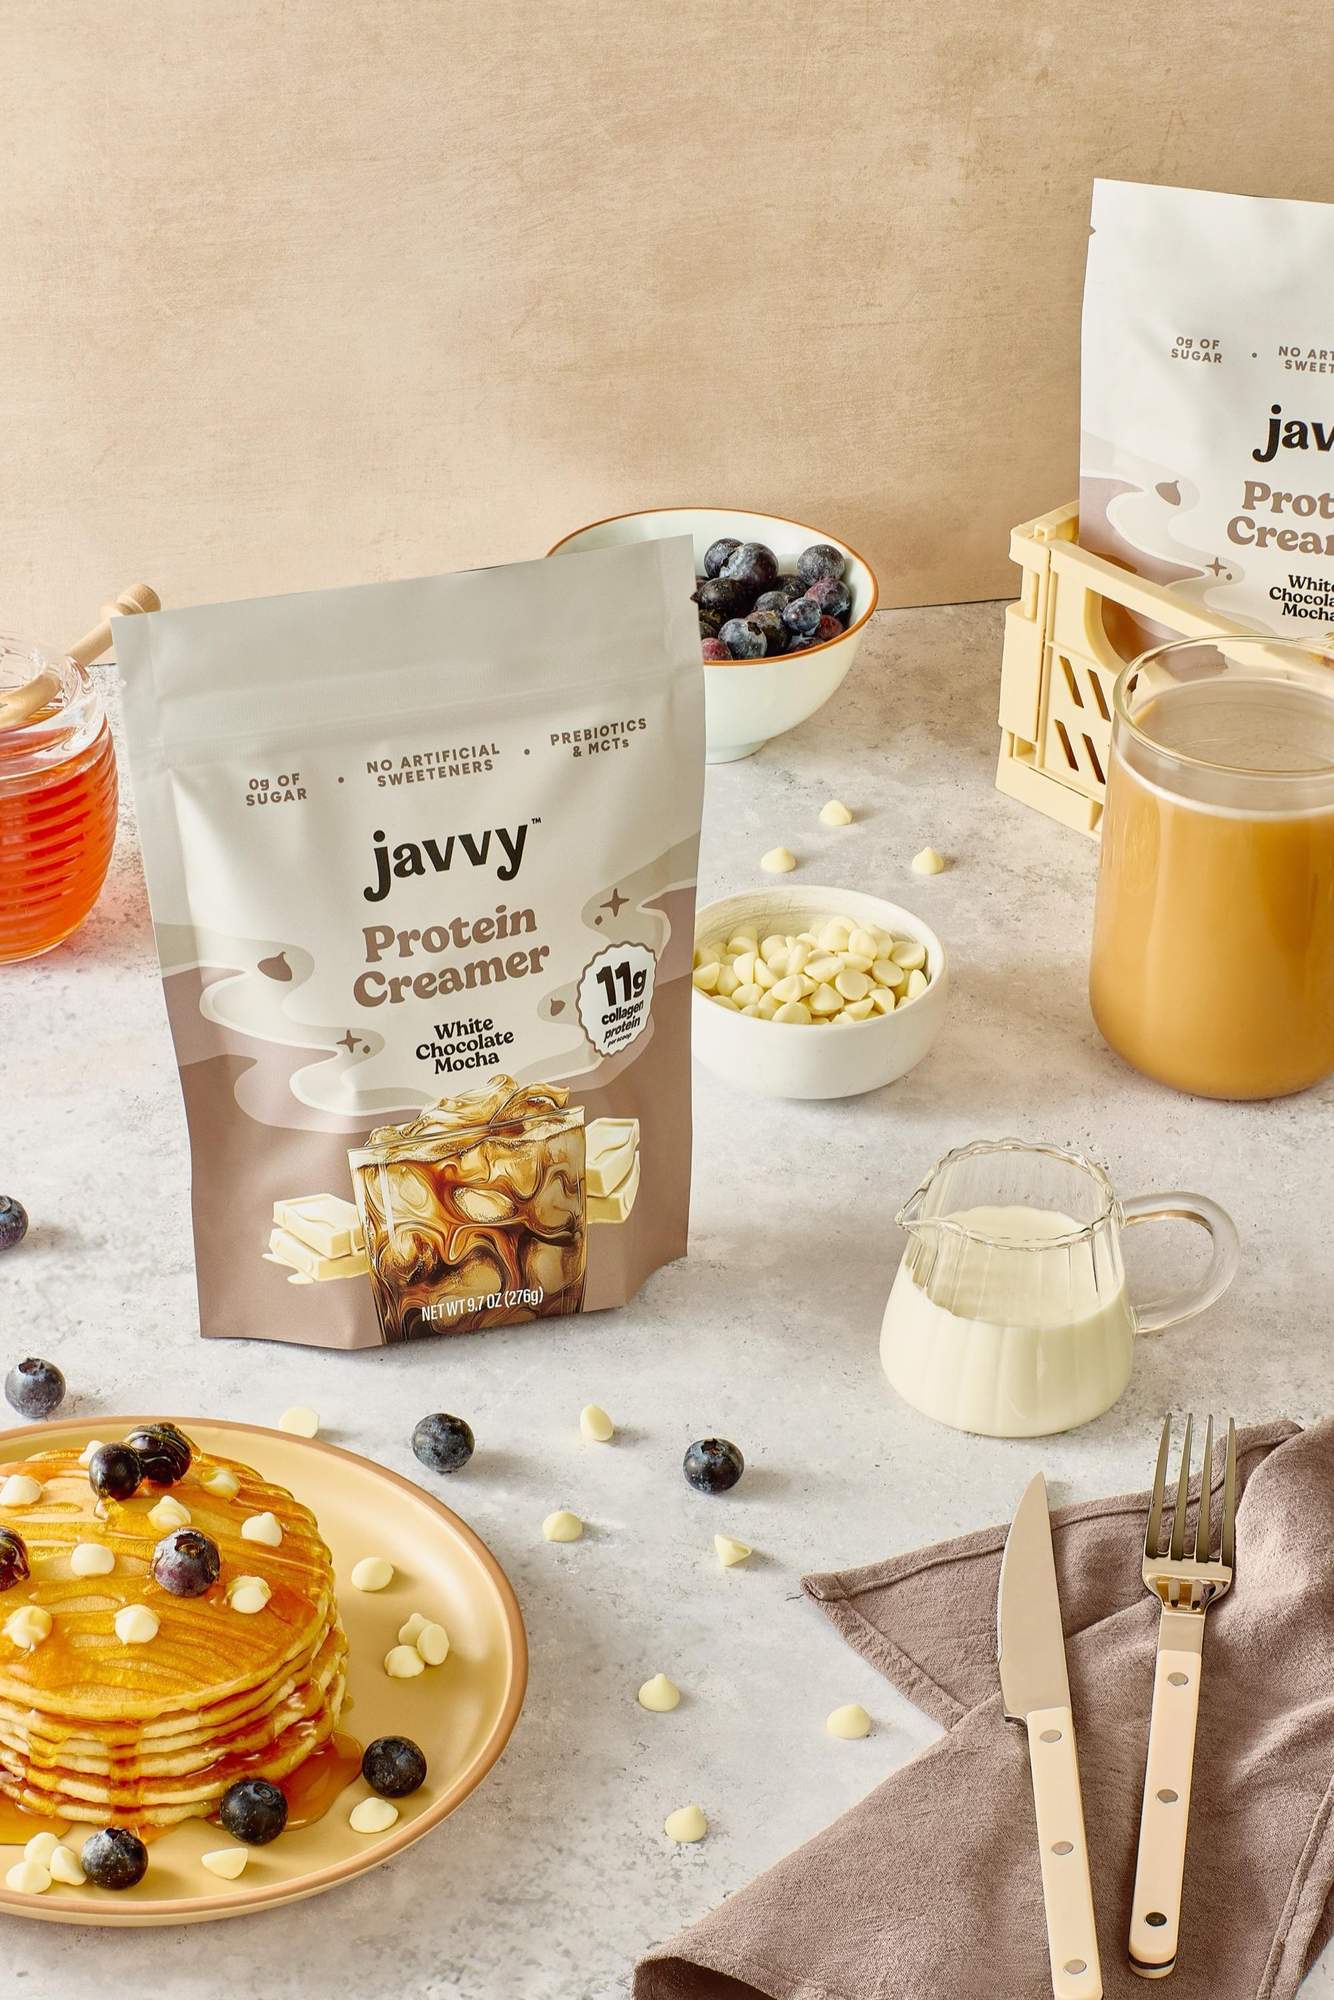
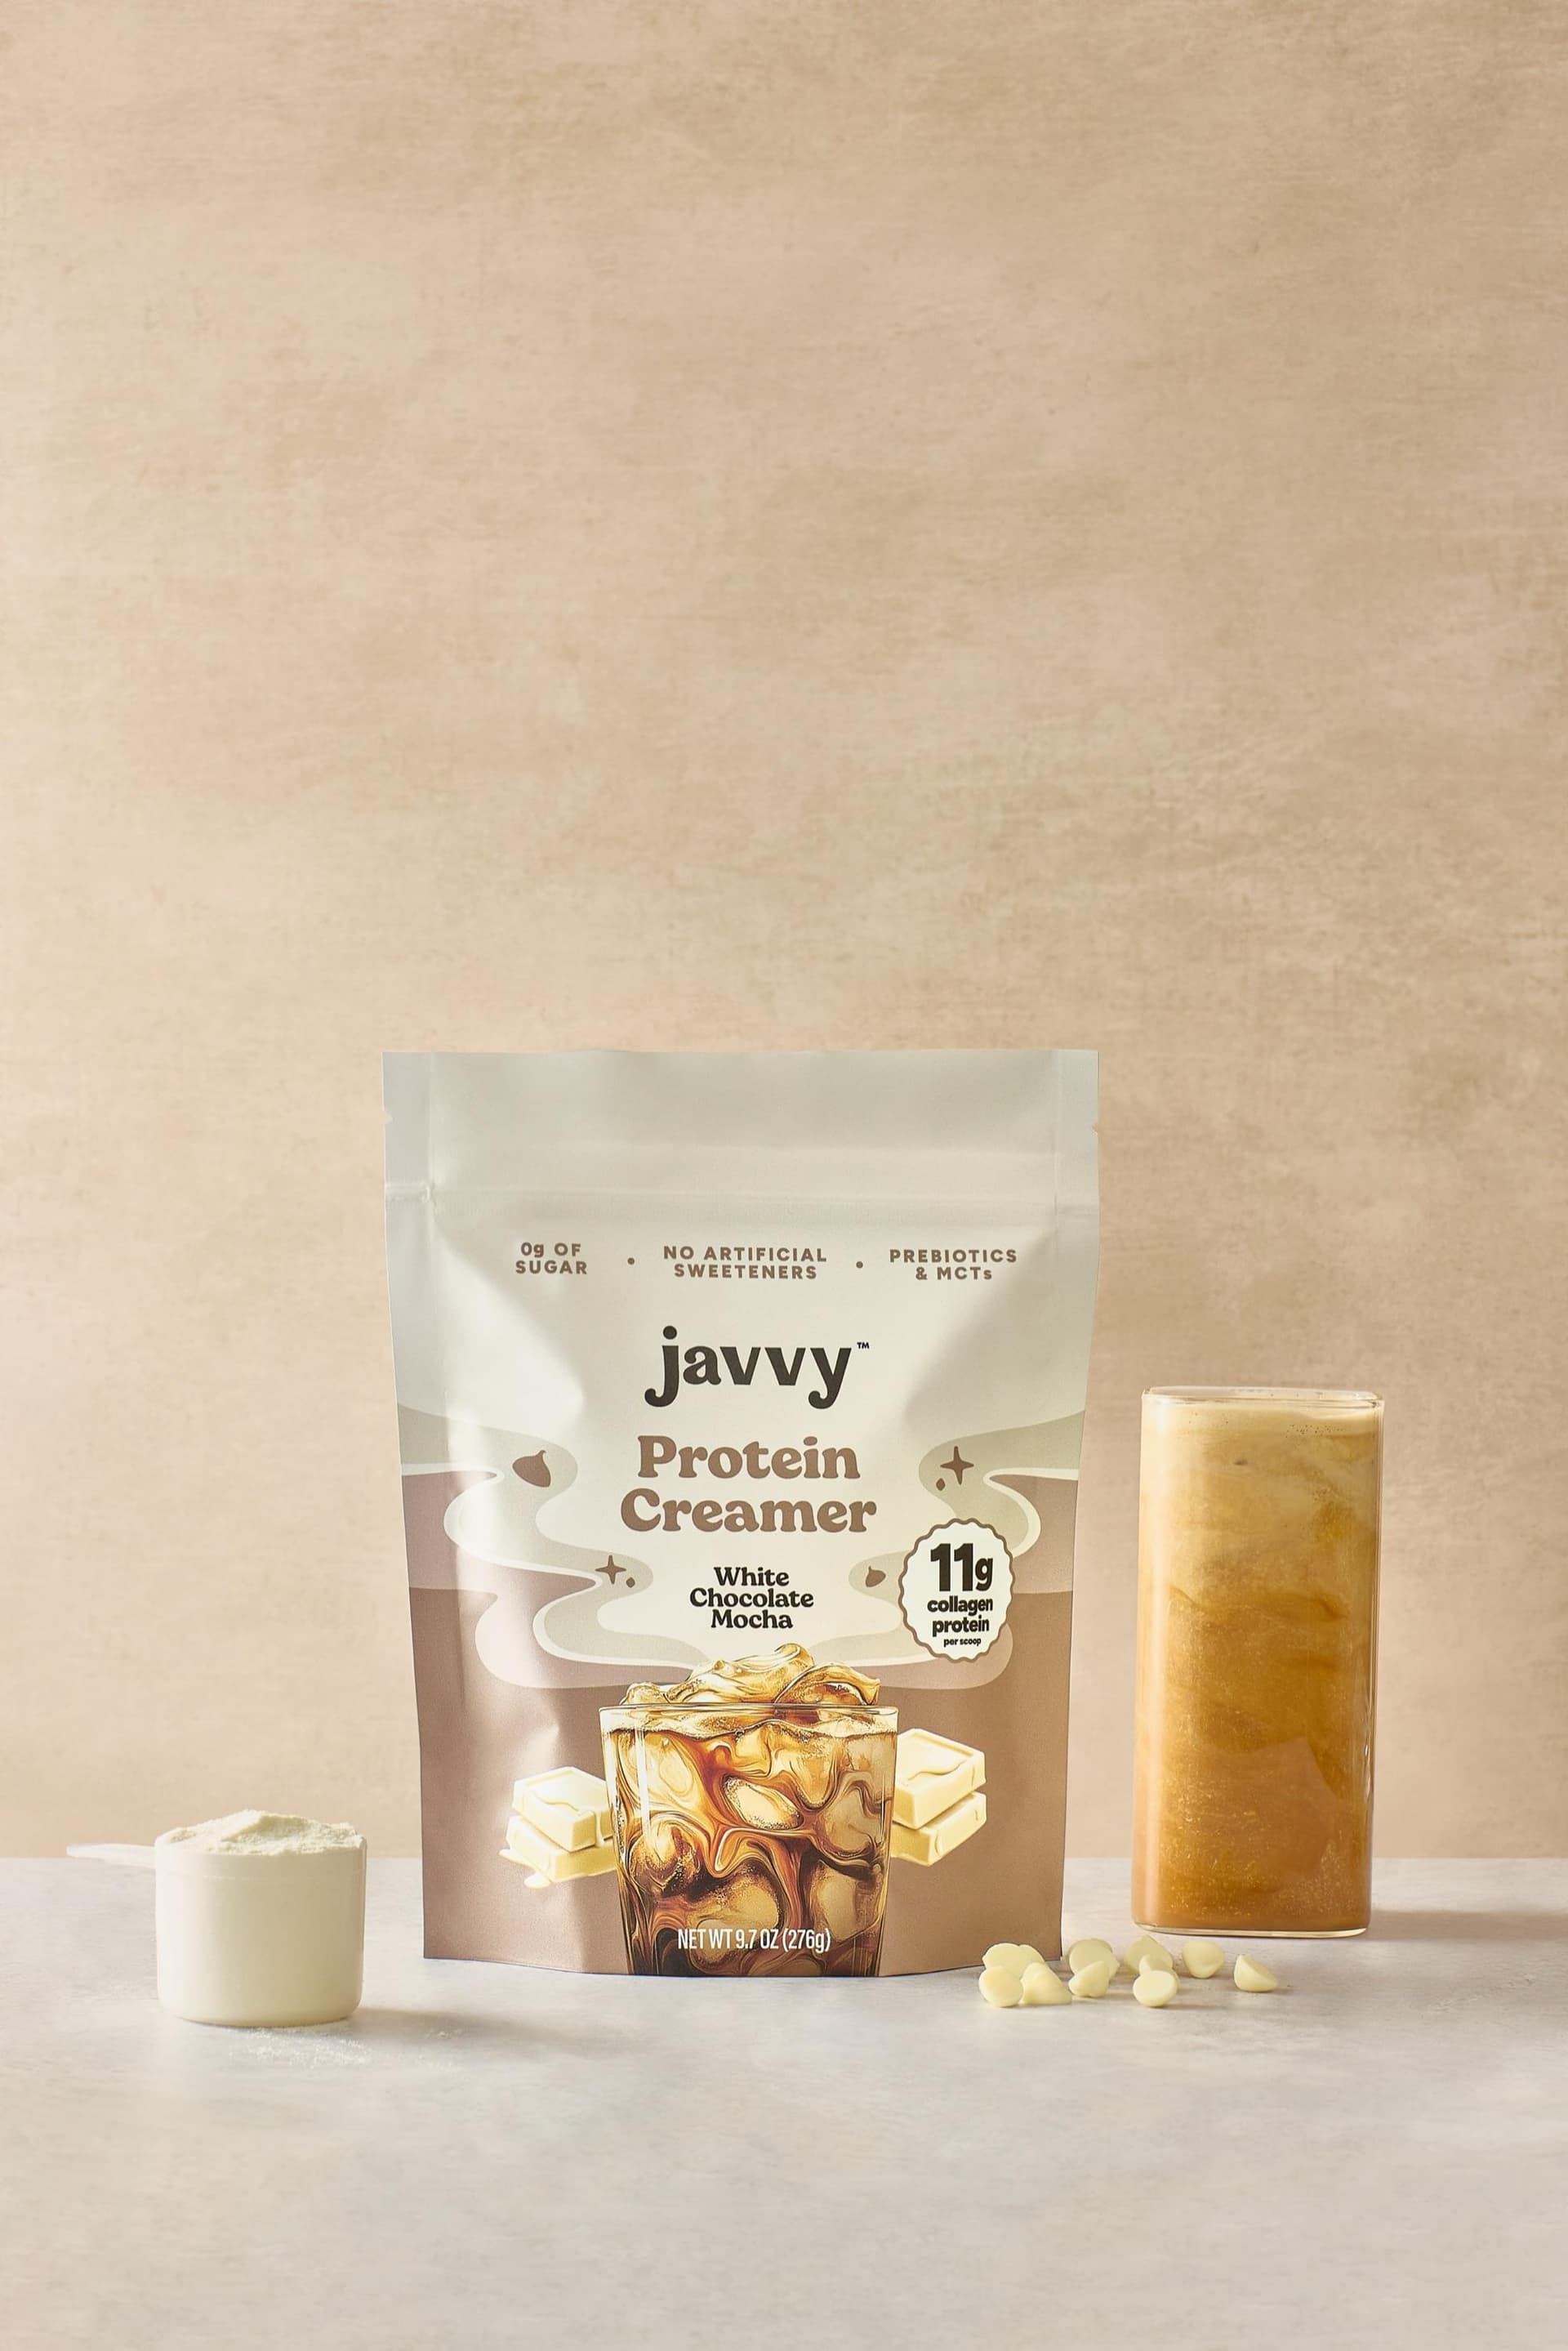
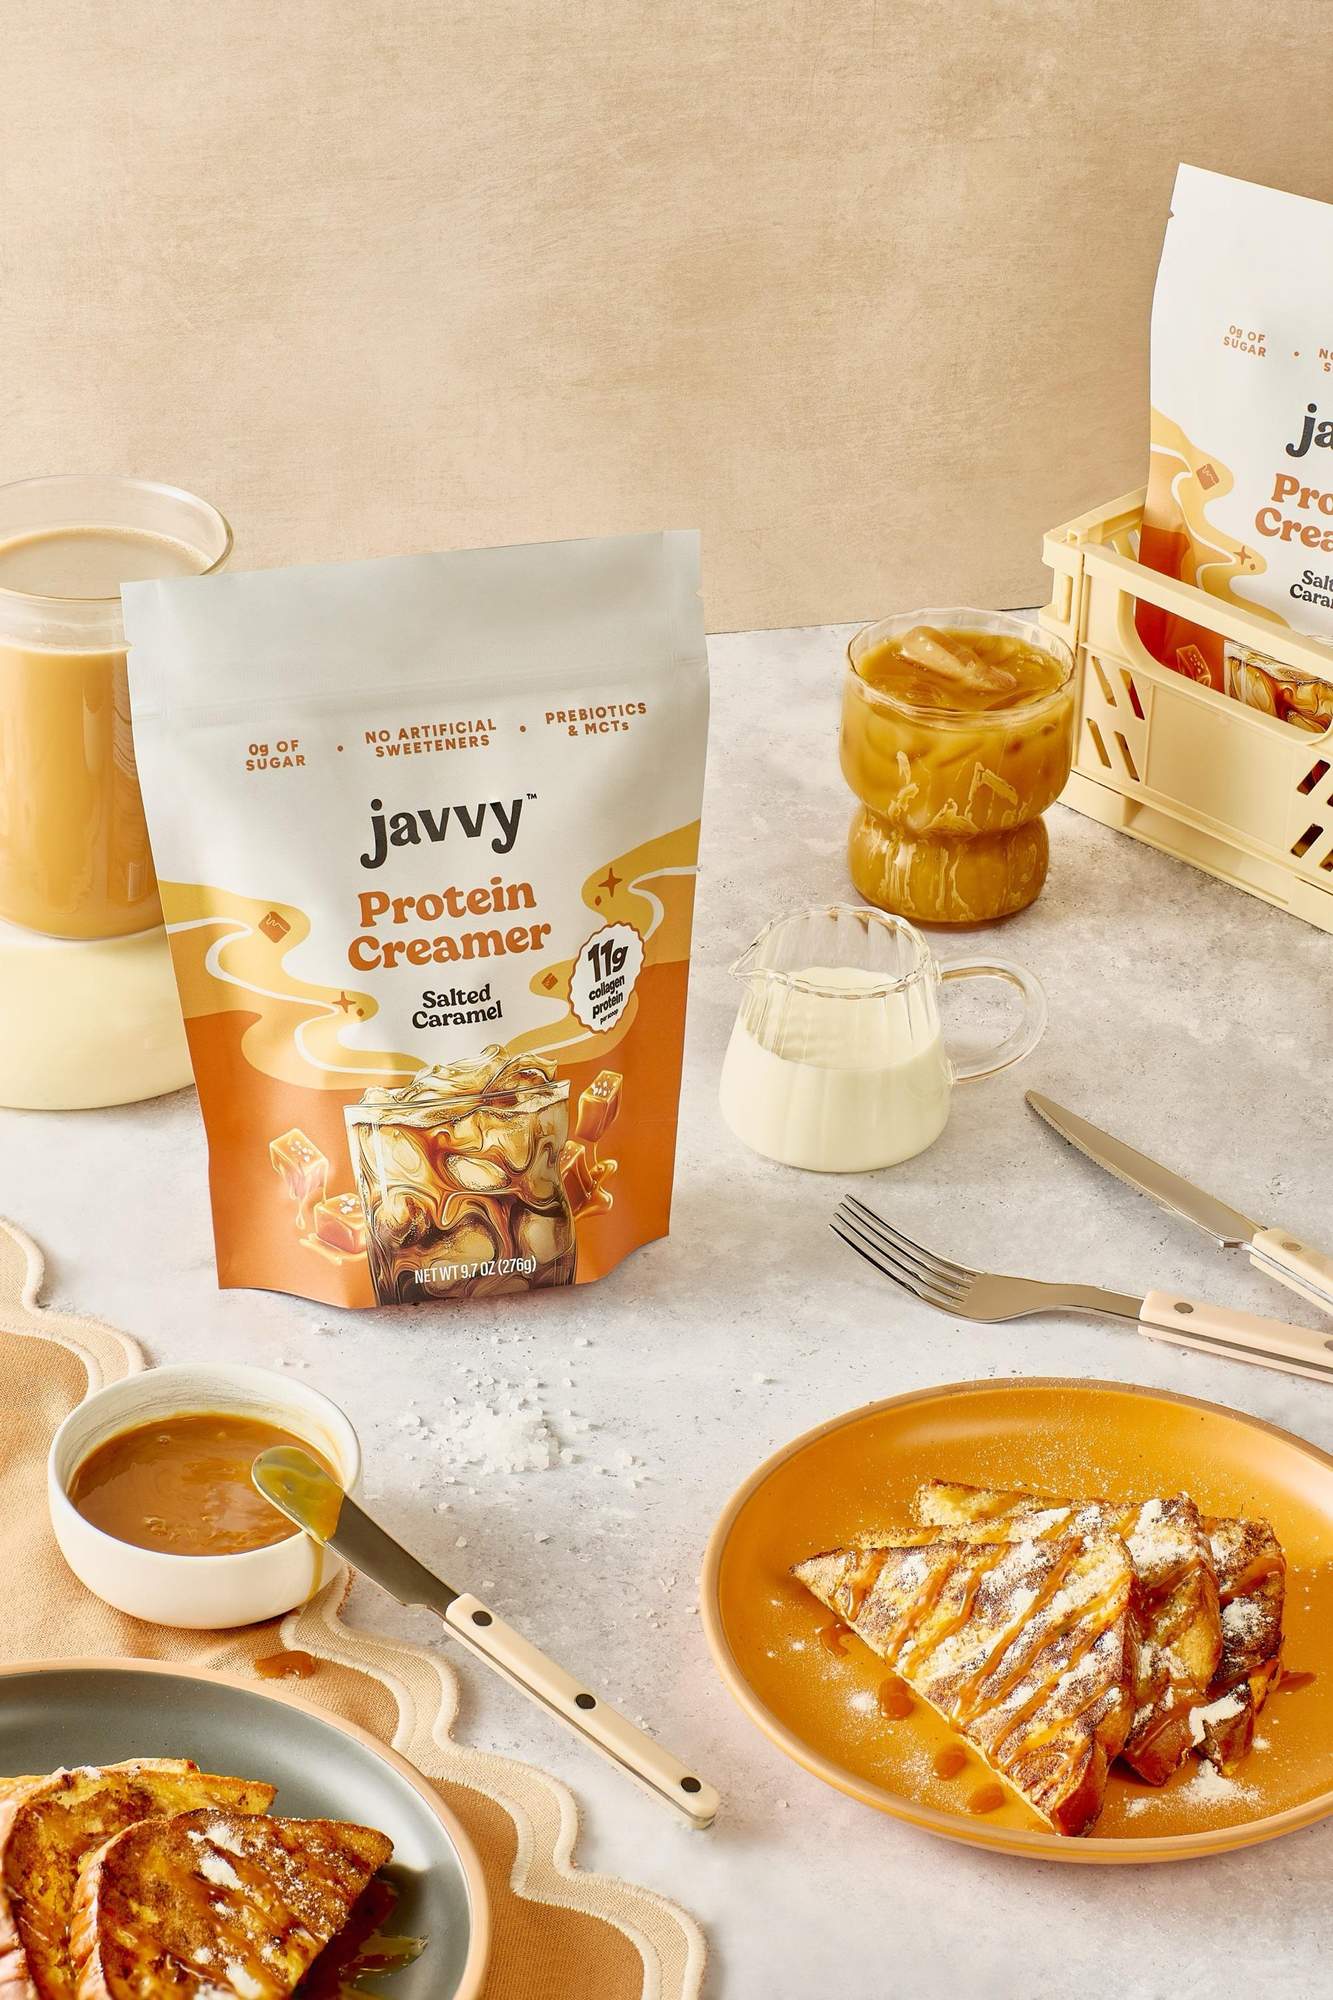
Food and beverage products: Bring backup units. Hero shots often need 3-5 versions of the same product because food styling is inherently destructive. That perfect pour, that ideal drip, that exactly-right garnish placement: each attempt uses a unit. If you're shooting a bottle, bring extras in case of label damage or condensation issues.
Electronics: Screens should be off or displaying approved brand content. Fingerprints on screens are the number one issue. Clean with a screen-specific microfiber cloth, not general-purpose cloths. If LEDs or indicator lights are part of the product, confirm they're working and have fresh batteries.
Packaged products: Make sure packaging is pristine. No dented corners, no shelf wear, no price stickers. If the product has a seal or shrink wrap, decide in advance whether you're shooting sealed or opened: and bring units for both.
Decide on Props and Surfaces Before the Day
Props can make or break a product photo, and the worst time to figure out your prop strategy is during the shoot itself.
For White Background / Hero Shots
Keep it simple. For clean product-on-white shots (the kind Amazon, Shopify, and most e-commerce platforms require), bring just the product. The studio handles the background, lighting, and surface. Adding props to these shots usually clutters the image and violates marketplace guidelines anyway.
For Lifestyle and Contextual Shots
This is where props matter: and where most prep mistakes happen.
If you have brand-specific props (custom tissue paper, branded boxes, signature accessories), bring them. Don't assume the studio has anything that matches your brand aesthetic. You know your brand better than anyone, and sourcing the right props is part of telling your product's story.
Common prop mistakes to avoid:
- Too many props. The product should be the hero. If your props are competing for attention, you have too many. Start with 1-2 supporting elements and add only if the shot feels empty.
- Wrong scale. A prop that's too large relative to the product makes the product look small. A prop that's too small looks like an afterthought. Test proportions before the shoot.
- Off-brand elements. That rustic wooden board looks great on Pinterest, but does it match your minimalist skincare brand? Every prop should reinforce your brand identity, not just fill space.
Prepare Your Shot List in Advance
A shot list is not a nice-to-have. It's the difference between a productive shoot and an expensive guess.
Without a shot list, the photographer is improvising based on general assumptions about what you need. With one, every minute of the shoot is focused on capturing specific, predetermined images that serve specific business purposes.
We've written a complete guide on building a shot list: [How to Create a Product Photography Shot List](/blog/product-photography-shot-list). If you haven't built one yet, start there.
What Goes on a Shot List
At minimum, each entry should include:
- Shot type: Hero, detail, lifestyle, scale, group, packaging
- Angle: Front, 3/4, top-down, side profile
- Surface/background: White, styled surface, in-context environment
- Text overlay areas: If images will be used for ads or banners, note where copy needs to go so the photographer can leave negative space
- Priority: Hero (must-have) vs. secondary (nice-to-have if time allows)
When to Share It
Share your shot list with the studio at least 48 hours before the shoot. Not the morning of. Not "I'll bring it on my phone." Forty-eight hours gives the photographer time to plan their lighting setups, flag any logistical issues, and suggest adjustments that could save time on set.
If you're working with 51st & Eighth, we build the shot list collaboratively during pre-production so there are no surprises on either side.
Reference Images and Mood Boards
Reference images save an enormous amount of time on set. Without them, you and the photographer spend the first 30-45 minutes of the shoot trying to align on "the vibe" through conversation alone. That's expensive and imprecise.
How to Build a Useful Reference Board
Pull 5-10 images that represent the direction you want. These can come from:
- Competitor product pages
- Pinterest boards
- Your own previous shoots
- Brand campaigns you admire (even from different industries)
Organize them into a simple document or shared folder. Google Slides, a Pinterest board, or even a folder of screenshots works fine. The format doesn't matter. What matters is that the photographer can see what you're going for.
Separate Vibe from Framing
Here's a tip that saves a lot of confusion: label your references as either "reference for vibe" or "reference for specific framing." They serve different functions.
A "vibe" reference communicates mood, color palette, and overall aesthetic. You might pull a perfume ad because you love the warm, golden lighting: even though you're shooting a candle.
A "framing" reference communicates specific composition, angle, or product placement. "I want my product positioned exactly like this, with this much negative space on the left for ad copy."
When these two types of references get mixed together without labels, the photographer has to guess which elements you care about. Label them, and everyone stays aligned.
Packaging and Variants
If you're shooting multiple products, SKUs, or colorways, a little advance planning prevents chaos on set.
Boxed, Unboxed, or Both?
Decide before the shoot. Shooting both boxed and unboxed versions of a product effectively doubles the shot count for that SKU, so it needs to be planned and budgeted accordingly. If you only need unboxed shots, don't bring the packaging: it just creates decision fatigue on set.
Multiple SKUs and Colorways
If you're shooting a product line with multiple colors or variants:
- Shoot from lightest to darkest. This minimizes lighting resets. Going from a white product to a black product requires significant exposure adjustments; going from white to cream to tan to brown is much smoother.
- Label everything. If you have six shades of lipstick or four scents of candle that look nearly identical, put a small piece of masking tape on the bottom of each with the SKU or color name. This prevents mix-ups that waste time and cause incorrect image labeling.
- Group by similarity. Products that share the same size and shape can often share a lighting setup, so shooting them consecutively is more efficient.
Logistics: What to Actually Bring on Shoot Day
Here's your packing checklist. Print it or screenshot it.
Products: - Hero products (primary items being shot), cleaned and inspected - Backup units of hero products (minimum 1 extra per product, more for food/beverage) - All variants/colorways, labeled with SKU or color name
Documents and references: - Shot list (digital on your phone/laptop AND printed as backup) - Reference images / mood board (shared with studio in advance, but bring a copy) - Brand style guide, if you have one - Color swatches or Pantone references if the studio is sourcing props to match your brand
Props and accessories: - Any brand-specific props you're supplying (branded tissue, custom boxes, signature accessories) - Cleaning supplies for touch-ups: microfiber cloth, compressed air, glass cleaner (as needed)
Packaging: - Transport products in a clean, rigid carrying case or box. Not a tote bag. Not a backpack. Products that arrive wrinkled, dented, or dusty from transit waste the first 20 minutes of your shoot.
What the Studio Handles (So You Don't Need To)
If you're working with a professional studio, there's a lot you can take off your plate. Don't overreach into things that are the photographer's domain:
- Lighting setup. The photographer will design the lighting for each shot. You don't need to bring lights, reflectors, or have opinions about softbox placement.
- Background selection and setup. Studios have seamless paper, surfaces, and environmental setups. For standard shots, this is included.
- Post-production and retouching. Color correction, background removal, skin retouching on lifestyle models, shadow creation: all handled in post. Don't worry about minor imperfections that can be fixed in editing (but do worry about major ones that can't).
- File delivery specs. The studio will deliver files in the formats and resolutions you need: web-optimized, print-ready, platform-specific crops. Just communicate your needs upfront.
At 51st & Eighth, we send a detailed prep guide to every client before their shoot. It covers everything in this post, customized for their specific product category. By the time you walk into the studio, you know exactly what to bring, what to expect, and what we're handling. No surprises, no wasted time.
Your Pre-Shoot Checklist (Quick Reference)
Two weeks before: - [ ] Build your shot list (or work with the studio to build it together) - [ ] Pull reference images and organize into a mood board - [ ] Decide on boxed vs. unboxed, which variants to shoot - [ ] Order backup units of hero products if needed
48 hours before: - [ ] Share shot list and reference images with the studio - [ ] Clean and inspect all products under bright light - [ ] Label variants with SKU/color names (masking tape on bottom) - [ ] Confirm props list: what you're bringing vs. what the studio provides
Day of: - [ ] Pack products in rigid, clean containers - [ ] Bring cleaning supplies for touch-ups - [ ] Bring printed shot list as backup - [ ] Arrive 10-15 minutes early to unpack and organize
Make Your Next Shoot Count
Product photography prep isn't glamorous. Nobody posts their packing checklist on Instagram. But it's the difference between a shoot that runs smoothly and delivers exactly what you need, and one that goes over time, over budget, and leaves you with images that don't quite hit the mark.
Do the prep work. Build the shot list. Clean the products. Make the decisions in advance. Your photographer: and your budget: will thank you.
Ready to book a product shoot with a team that takes prep as seriously as you do? [Get in touch](/contact) or learn more about our [product photography services](/lp/product-photography). We'll send you a customized prep guide before we ever pick up a camera.
Ready to elevate your product photography?
Get a free quote from Austin's leading product photography studio.
Get a Free Quote →