There's a moment in every beverage brand's growth where the product is genuinely good, the branding is solid, and the packaging looks great in person: but the photography isn't keeping up. The images on the website and on Amazon look flat. The can or bottle doesn't have the presence it should. And despite everything else being right, the product photographs like something you'd pick up at a gas station, not something you'd pay $15 for at Whole Foods.
Beverage photography is one of the most technically demanding categories in product and brand work. Liquid color, condensation, label legibility, pour dynamics, carbonation bubbles, the way light transmits through glass: all of these have to be managed simultaneously, and any one of them being off collapses the whole image.
This guide covers what makes beverage photography hard, what the techniques actually look like in practice, and what your photography needs to do to support the price point and brand position you're building toward.
Why Beverage Photography Is Technically Different
Most product photography involves a static object: you place it, light it, shoot it. Beverage photography adds complexity on every axis.
The product actively changes. A beverage fresh out of a cooler starts sweating immediately in warm studio air. Ice melts. Foam dissipates. A pour captured at the wrong millisecond looks wrong. You're photographing something that has a shelf life measured in minutes, sometimes seconds.
Light behaves differently with liquid. Glass transmits, refracts, and reflects. Liquid adds color that shifts with depth, angle, and light source. A backlit glass of amber liquid looks completely different from a frontlit one. Neither is wrong, but they communicate different things: and the choice has to be intentional.
Labels and liquid have competing lighting needs. The optimal light for making a label read clearly is often the worst light for making the liquid inside the bottle look appealing. The optimal backlight that makes liquid glow and look dimensional often creates hotspots or glare on the label. Reconciling these competing requirements is where most of the technical work in beverage photography lives.
Scale and portion context matter. A 12-oz can needs to look like it contains 12 oz. A 750ml bottle needs the visual weight that communicates volume. Getting these wrong: through compression, crop, or focal length choices: makes products look smaller, cheaper, or different from what the buyer will receive.
The Techniques That Make the Difference
Backlight and Translucency
For most beverages: especially anything with color (juice, soda, beer, spirits, kombucha): backlight or rim light is what creates the sense that the product is actually liquid inside, rather than a colored cylinder. Without it, even a beautiful amber beer in a clear bottle photographs as a dull brown shape.
The approach varies by container material and liquid color:
- Clear glass with colored liquid: Subtle backlight positioned slightly above and behind creates a rim of light around the container while illuminating the liquid from within. The label is lit separately from the front with a softer source.
- Opaque cans: No translucency play. The visual interest comes from label rendering, surface texture, and controlled reflection management.
- Frosted glass: The light diffuses through the frosting in a way that creates natural gradient: this is usually lit with a large, soft source placed high and behind.
Condensation Control
Condensation on a cold beverage signals refreshment, coldness, and quality: but natural condensation on a warm shoot day creates uncontrolled droplets that run, streak, and look inconsistent across shots.
Two approaches:
Controlled condensation with product stylist: The beverage is chilled and then brought into the warm shoot environment on a shot-by-shot basis. A stylist manages droplet formation and removes unwanted streaks between frames. This is the most authentic approach but requires tight timing and a stylist experienced with beverages.
Simulated condensation: A water and glycerin mixture is applied to the container surface before shooting. The glycerin slows the movement of droplets, creates a more stable surface, and gives the photographer time to work. The result looks realistic on camera: it's a standard technique for commercial beverage work, not a hack. Most beverage imagery you see in grocery store advertising used glycerin condensation.
The choice between these approaches depends on your brand position. A brand that leads with authenticity and natural ingredients might prioritize real condensation. A brand optimizing for visual consistency across a large catalog of SKUs usually goes with glycerin.
Pour and Liquid Motion Shots
A well-executed pour shot: liquid in motion, catching light, with the product bottle clearly in frame: is often the single most valuable image a beverage brand can have. It does things a static shot can't: it communicates freshness, serving occasion, the way the product looks when it's actually being consumed.
Pour shots require:
High shutter speed. 1/1000s or faster to freeze liquid cleanly. This dictates the lighting setup: you need enough power to properly expose at that shutter speed, which typically means high-output strobes rather than continuous light.
Practice pours. The "hero pour" that makes it into the final image is usually the product of 20-40 practice pours that calibrate the angle, height, flow rate, and timing. The liquid hits a specific light position at a specific trajectory and the timing has to be right.
Liquid selection. The product's actual liquid doesn't always photograph the way it looks in person. Dark beers can look black rather than amber under certain lighting. Some juices photograph more saturated than they actually are; others go muddy. A good beverage photographer has worked with enough liquids to anticipate these shifts and compensate.
Splash containment. This sounds obvious but is genuinely important: pour shots happen in environments where liquid spray can reach equipment, backdrops, and surfaces. Studio setup for a pour session is different from a static product setup.
Ice and Garnish Styling
Ice in commercial photography is almost never real ice. Real ice melts under studio lights, creates water puddles that shift between frames, and produces inconsistency across a shoot day.
Acrylic ice cubes are the standard. They're optically similar to real ice, don't melt, and can be repositioned without time pressure. For close-up shots where real ice would be required for authenticity, the ice is shot quickly in the first few minutes after it's placed, before significant melting occurs.
Garnishes (citrus slices, herbs, salt rims) are real, but selected and prepped by a stylist with food styling experience. The difference between a lemon slice prepped by a food stylist and one you'd cut yourself is dramatic in photography.
What Premium Beverage Photography Communicates
The visual codes that signal a premium price point in beverage photography are learnable and consistent across the category:
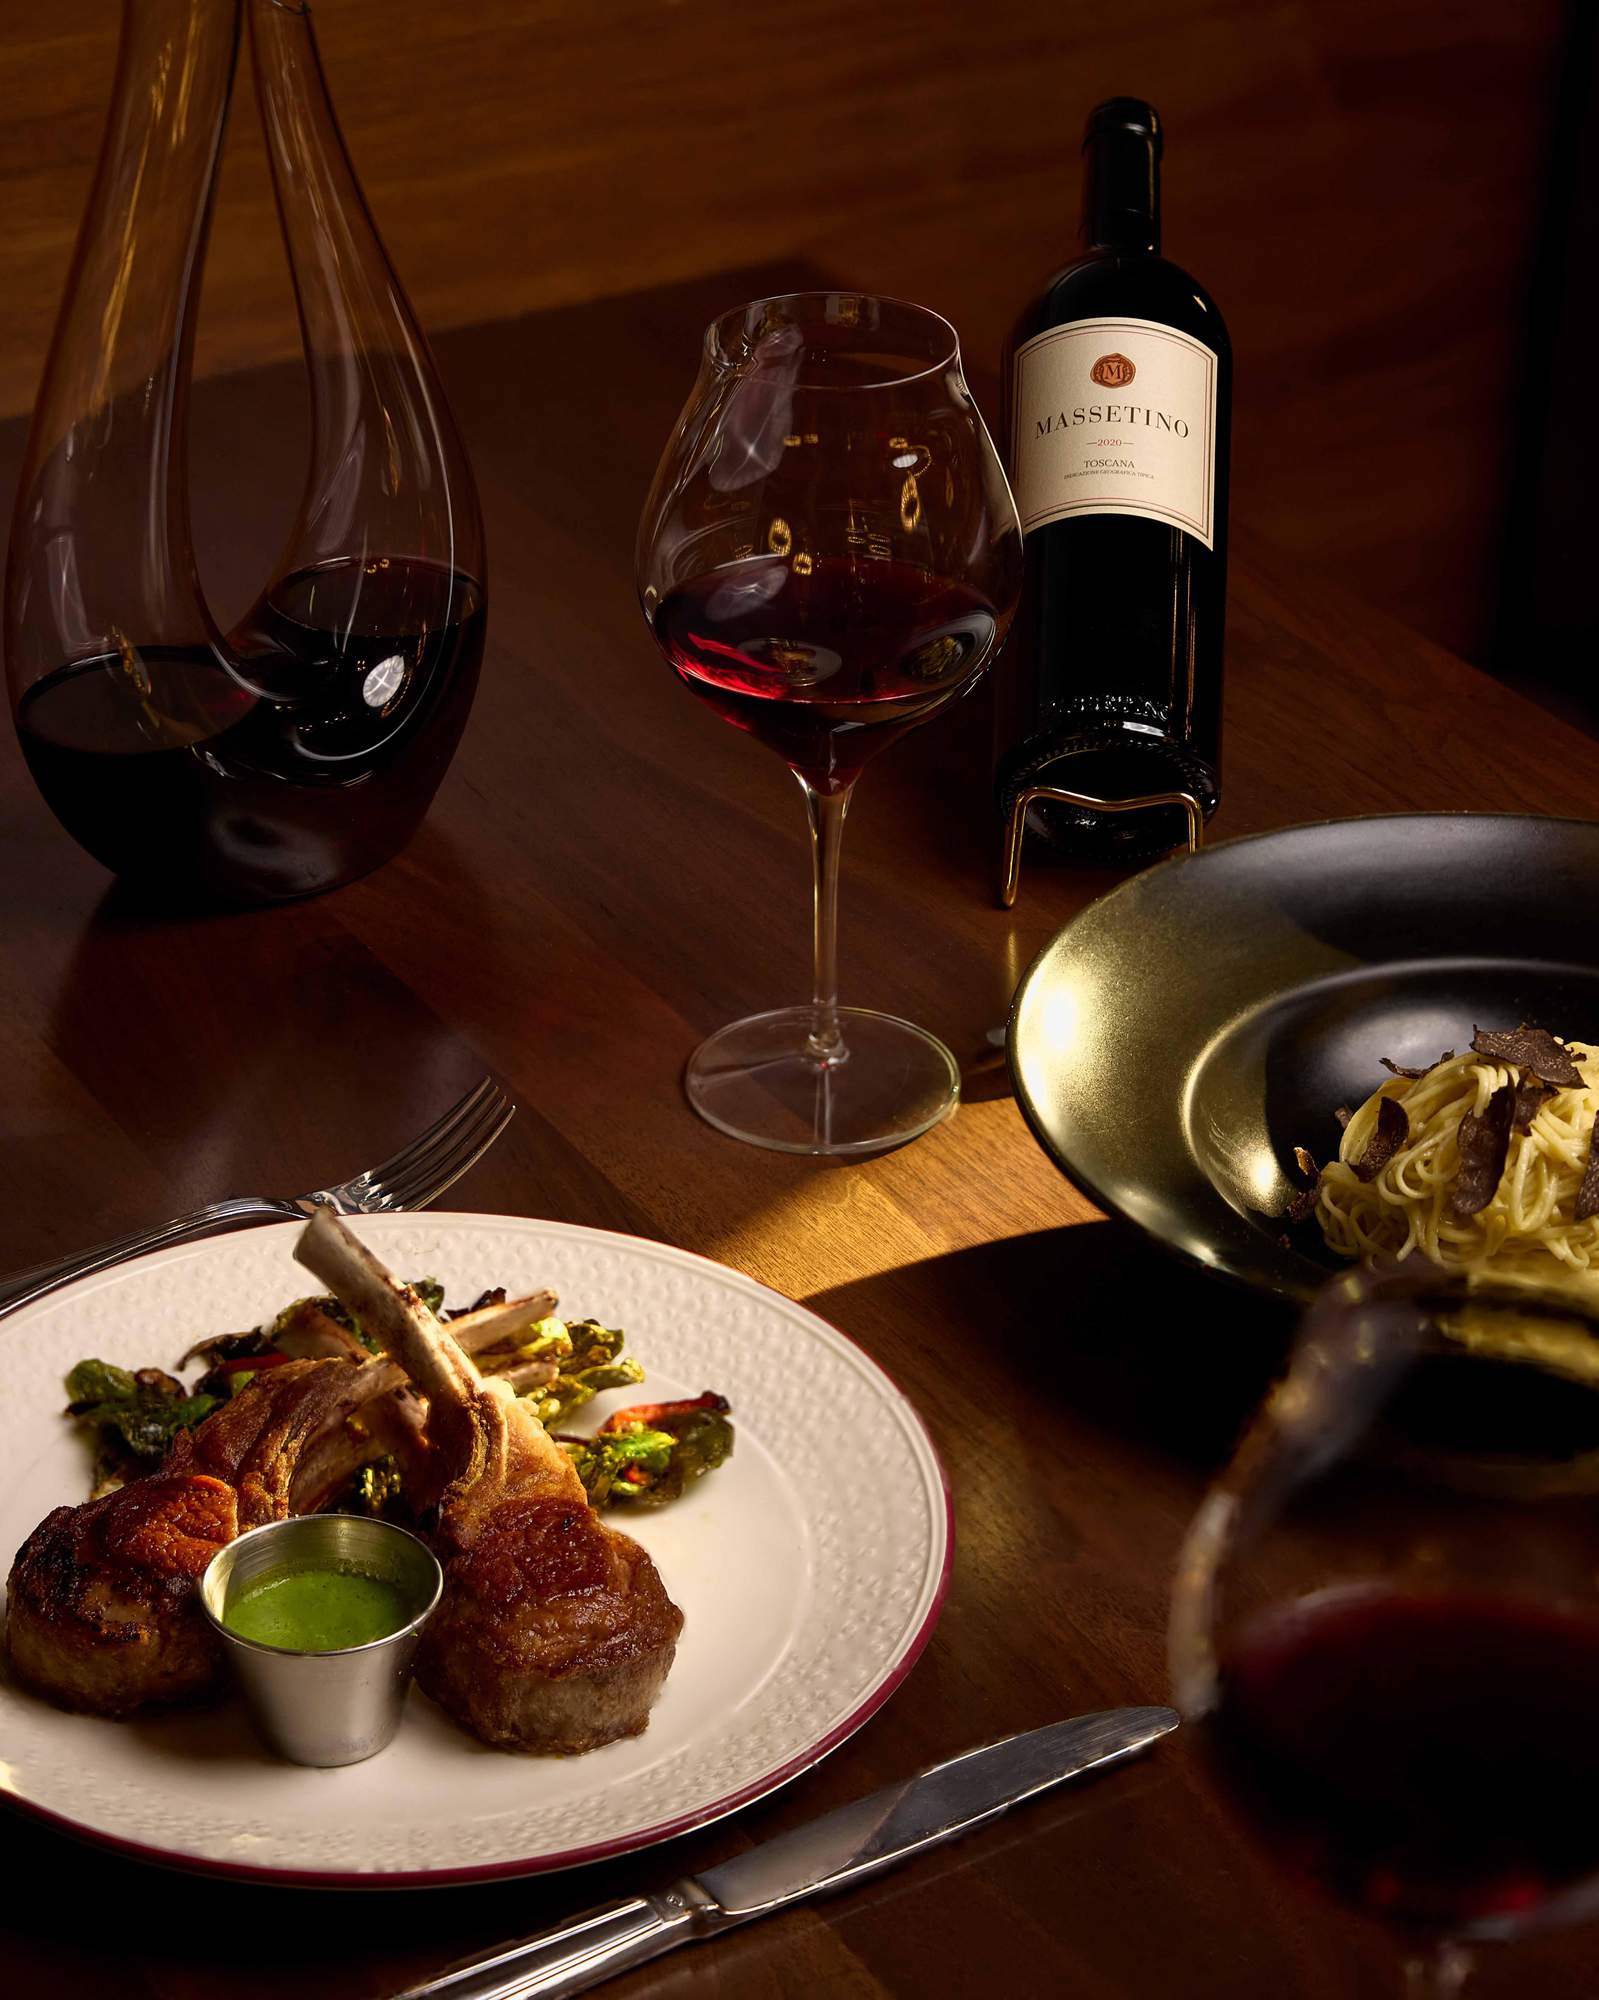
Surface choice. Stone, slate, weathered wood, textured metal: these surfaces communicate craft and quality. Glossy white or plastic surfaces communicate utility. The surface you place a beverage on is one of the strongest signals in the image.
Restraint in propping. Amateur beverage photography tries to tell too much of a story with too many props. A $15 craft beverage is usually served with very little: clean glass, good surface, perhaps one contextual element. Let the product carry the image.
Natural or naturalistic light. Even when the light source is artificial, premium beverage photography is typically set up to mimic natural window light or late-afternoon golden light. Harsh, obviously artificial lighting reads as commercial rather than craft.
Depth. Foreground focus, background blur, and dimensional setup: the product in a physical space rather than floating against a white void: is a consistent visual signal of brand investment and confidence.
Negative space. Confidence to not fill the frame. A bottle of something good in the left third of a frame with space to breathe communicates differently than the same bottle centered and tight.
Beverage Photography for Retail vs. DTC vs. Social

The right image depends on where it's going to live.
Retail and wholesale (buyer presentations, trade shows, shelf context): Clarity first. The label has to be legible. The product needs to read correctly at the scale it'll appear on a shelf next to competitors. Pour shots and lifestyle content are secondary; the primary images here are well-lit, label-forward, shot at the container's natural proportions.
DTC e-commerce (Shopify, brand site, Amazon): Compliance images for the main listing (white background, product-fill requirements), supported by 4-6 secondary images covering: a lifestyle pour or serve scenario, an ingredient or recipe story shot, a key claims callout, and at least one image that establishes the brand's visual world.
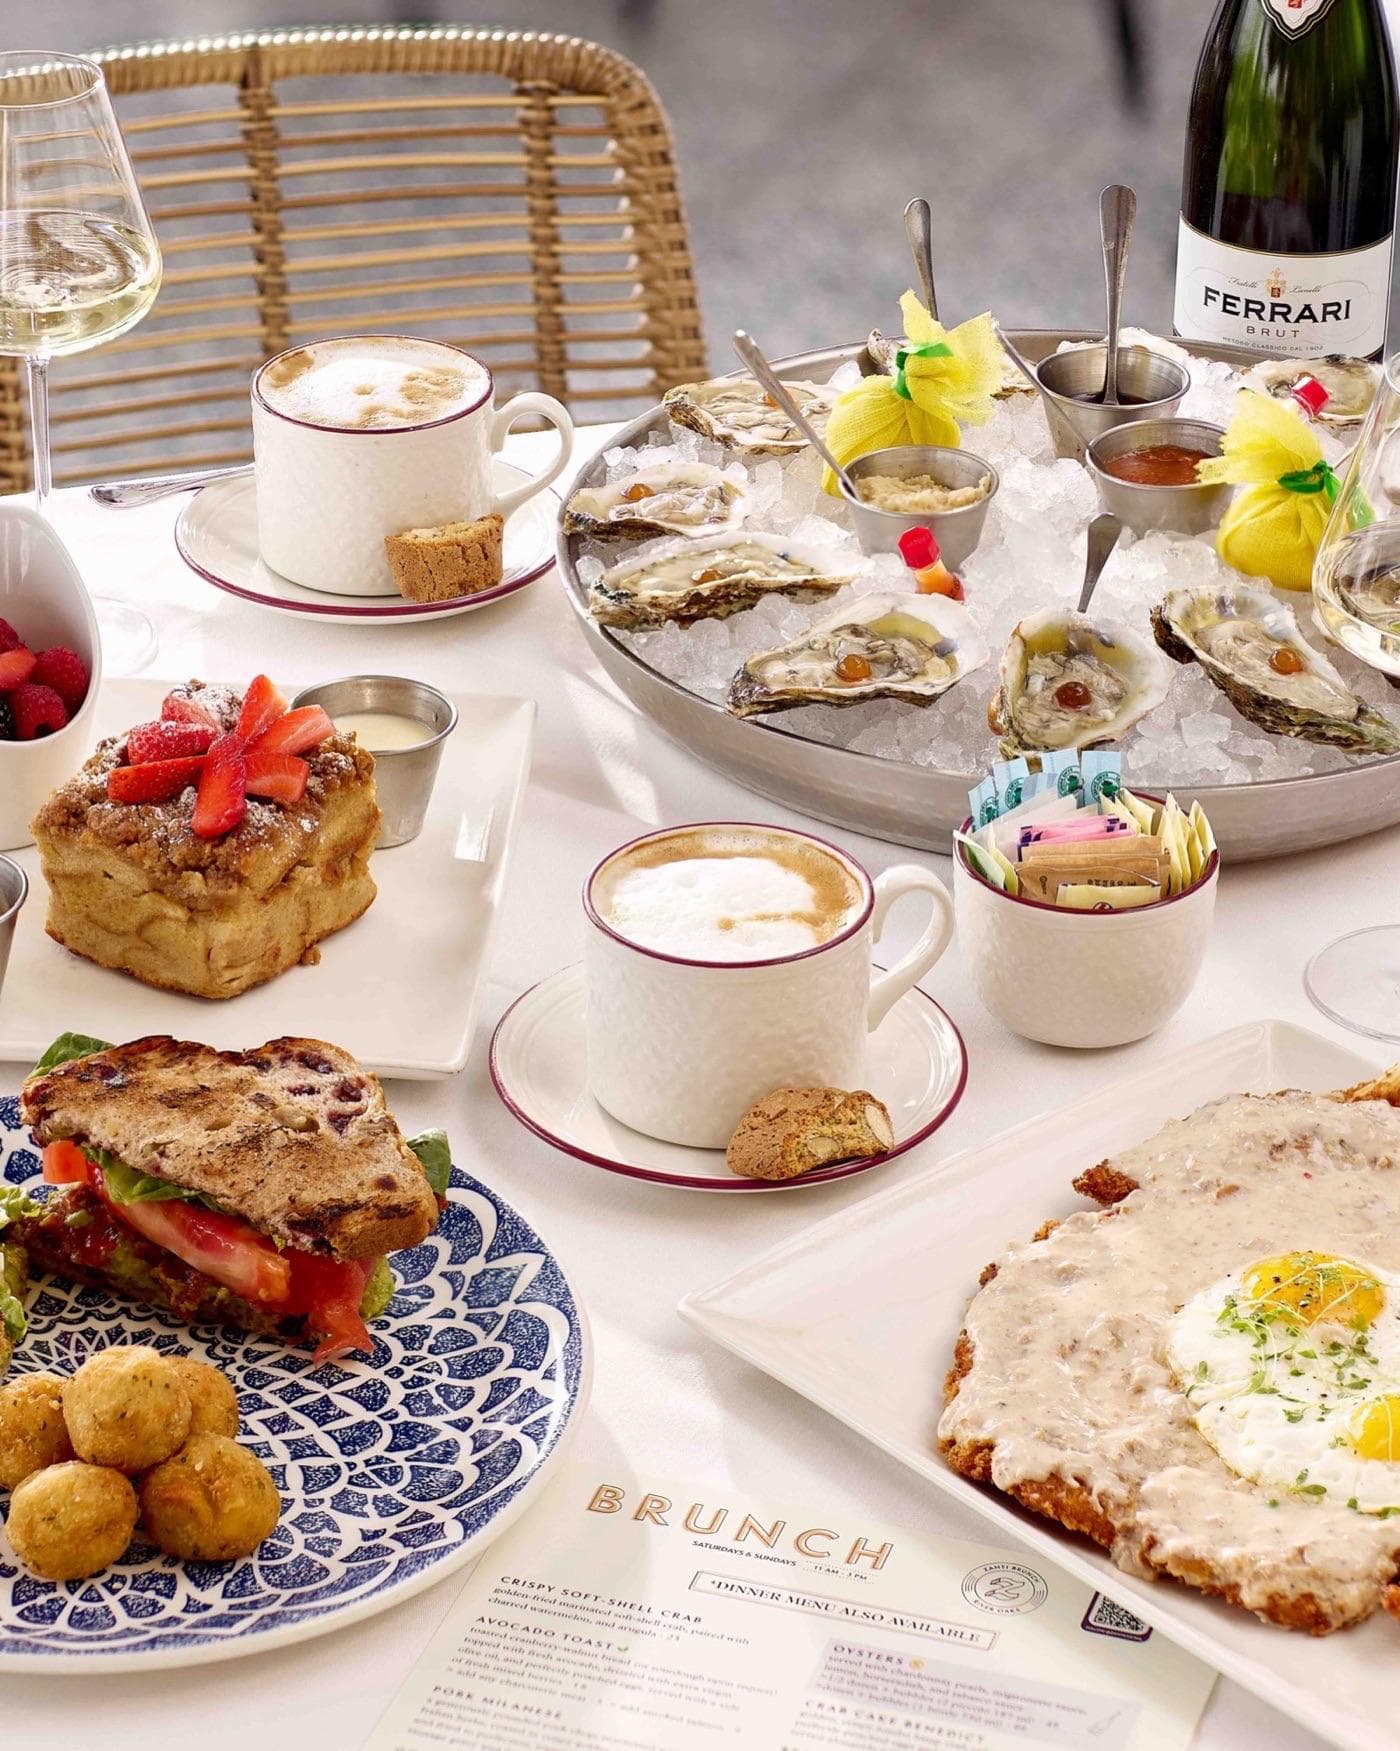
Social (Instagram, TikTok, Pinterest): Story and context over technical compliance. The serve moment: ice in a glass, bottle on a table at golden hour, a hand reaching for the product: outperforms isolated product shots consistently. This is where pour shots, condensation detail, and lifestyle environment content deliver the most value.
Most beverage brands need all three content types. The mistake is treating one shoot as sufficient for all three contexts.
Cost Expectations for Beverage Photography
Austin and Texas market rates:
Product-forward studio work (label compliance, static shots, white and simple backgrounds): - Half-day (3-5 SKUs, multiple angles): $2,500-4,500 - Full day (8-15 SKUs, compliance + styled): $4,500-8,000
Lifestyle and campaign beverage photography (location or studio set build): - Half-day creative session: $3,500-6,000 - Full-day campaign shoot with location and props: $6,000-12,000+
Pour and motion shots (requires high-output strobes, timing work): - Typically added to a session as a half-day add-on: $1,500-3,000 on top of base session - Stand-alone pour session: $3,000-5,000
The cost drivers: prop and surface sourcing, product styling expertise (not all product photographers work with beverages regularly), and the lighting equipment required for backlit liquid work.
Where AI Compositing Fits in Beverage Photography
AI-assisted compositing has a specific useful role in beverage photography that's worth knowing about.
The container and label: the physical product: still needs to be captured with real photography to get the light interaction, surface texture, and dimensional accuracy right. But the background environment and context can increasingly be generated or composited.
A bottle photographed in a controlled studio can be placed in a sunset scene, on a beach, at a rooftop bar, or in a rustic kitchen through AI compositing. This lets brands show their product in multiple usage environments without booking multiple location shoots.
For beverage brands launching into new channels or markets: where they need imagery that fits the aesthetic of a new retail environment or a different consumer occasion: AI compositing is a practical way to generate that contextual variety without the cost of separate location productions.
It doesn't replace the pour shot, the condensation detail, the hero bottle with perfect label legibility. It extends the range of environments you can show that bottle in.
The Bottom Line
Beverage photography is expensive to do well and immediately obvious when it's done poorly. The gap between photography that makes a product look like it belongs at $6 and photography that makes it look like it belongs at $15 is real: and it's primarily technical and creative, not a budget question of whether you bothered to photograph it at all.
The brands that get it right are the ones who treat photography as a core part of the product launch, not a line item to minimize. A beverage that photographs well is a beverage that sells.
If you're planning a beverage shoot and want to talk through the right setup for your product and brand positioning, [get in touch](/contact). We've worked with Austin beverage brands across spirits, craft beer, functional beverages, and specialty coffee: and we know this category. Or see how AI compositing can extend your existing product photography into new environments and usage occasions.
Ready to elevate your beverage brand photography?
Get a free quote from Austin's leading food and beverage photography studio.
Get a Free Quote →